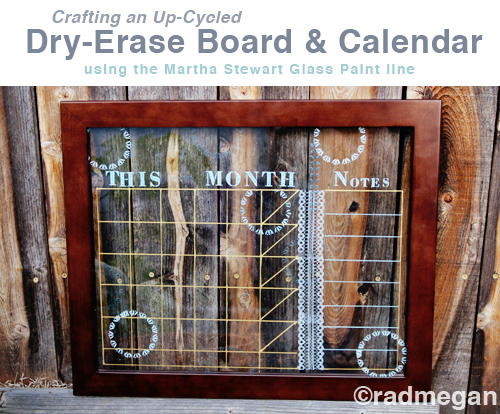
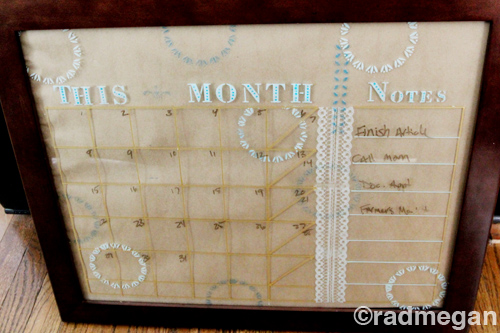
You know how life sometimes presents solutions before you even realize there’s a problem? Thanks to Blueprint Social, I recently received a heaping box of Plaid’s new Martha Stewart glass paint which allowed me to finally create a project I’d been thinking about making, but had never quite gotten right before: A DIY Dry Erase Board and Calendar.
I had attempted a similar project a while back, using an old picture frame, some tape and spray-on chalkboard paint. The results were not impressive. So when the box o’ Martha arrived, it felt like the heavens opened up and a divine hand of organization reached down and smacked me on the back of the head. I quickly began familiarizing myself with all of the awesome paints, stencils and precision tools that I had received. I also did something I rarely do: read the instructions. (Incredibly helpful!) I painted up a couple of test projects (see the black mug, and bird-shaped salt and pepper shakers below? I highly recommend test projects first!)
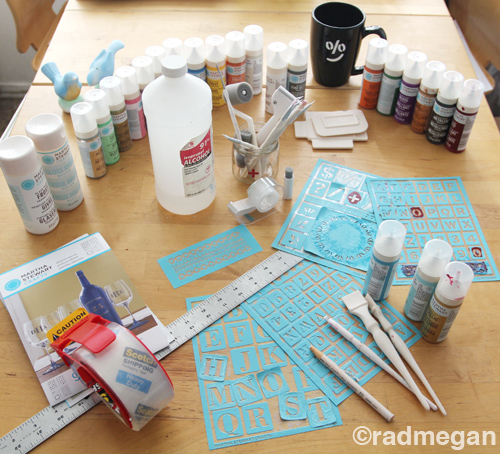
Then, using an over sized, double-paned picture frame that I’d purchased almost 3 years ago, I set out to paint my way to a more organized existence. Note- I DO USE a calendar on my computer, but I am a champion list-maker, and there is something to be said for writing things down in a list and on a calendar that you will SEE in your home every day. For me, that’s a bit harder to hide from than good ol’ iCal…
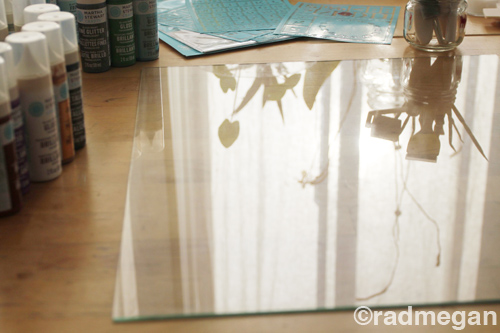
I started out by taking one of the 2 panes of glass from my frame, and washing it with glass cleaner.
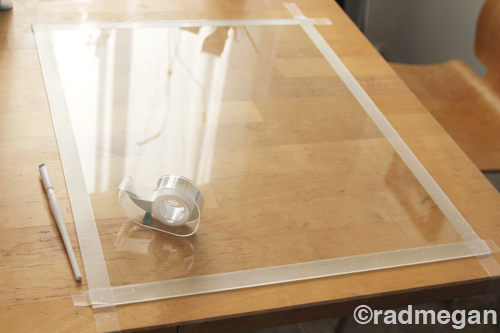
Next, I made a Scotch tape border around the edges to protect my fingers, create a no-paint zone and to secure the glass to the table to prevent it from sliding around as I worked on it.
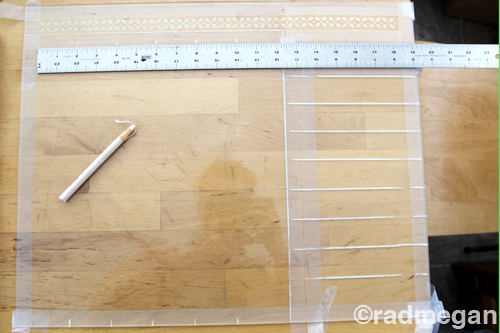
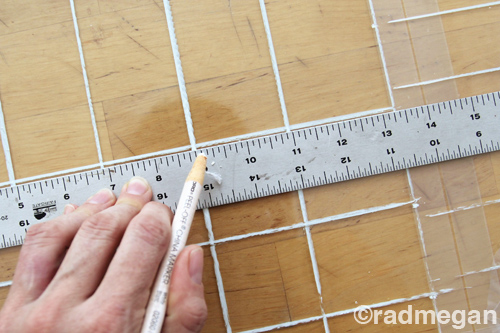
Knowing that I wanted both a calendar AND a place for notes, I grabbed my metal ruler and wax pencil. On the “right side” aka “front side” of the glass, I measured and drew the lines for my design.
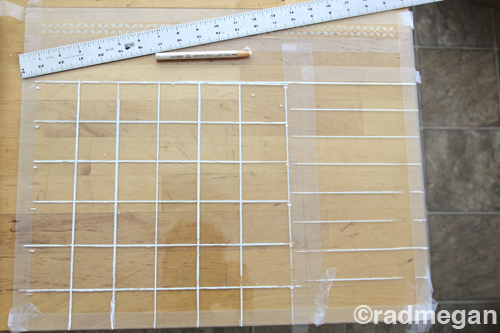
When the lines were drawn, I unattached the glass pane from the tabletop, flipped it over to the other side (“the wrong” or back side) and used my Opaque Metallic paint in “Yellow Gold” to paint over the wax guides which were showing through from the “back” of the glass and therefore didn’t affect how the paint would adhere to the glass.
By painting on the backside of the glass, I was ensuring a flat surface on the front side- which could be written on over and over again with dry erase marker and cleaned up with a number of glass cleaners.
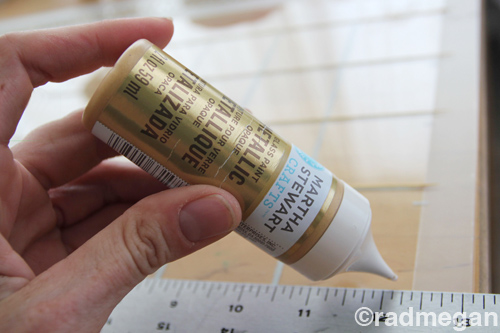
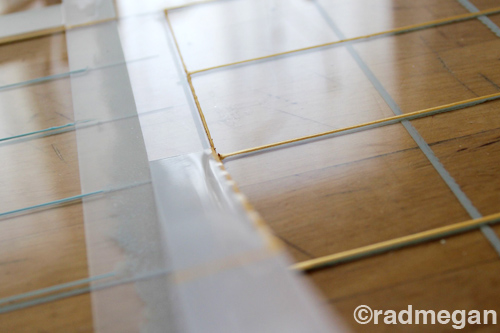
Along with my wax pencil, using a ruler and tape were extremely helpful for me when I painted the straight lines of the calendar boxes and notes area. (Notes area painted in Translucent Frost in the color of Sea Lavender.)
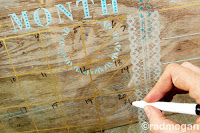
To add some decorative elements, I used one of the circular boarder stencils in both Translucent Frost Sea Lavender and Transparent Gloss Polar Blue. The stencils were very easy to use- and since they can be peeled up and re-stuck to your project, creating patterns and design elements is a snap. The hand squeegees were also super easy to use and clean.
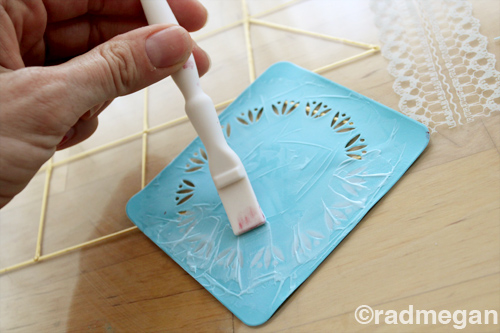
When the designs on the “wrong side” of my glass were done, I placed the entire pane somewhere safe and out of the way, to dry.
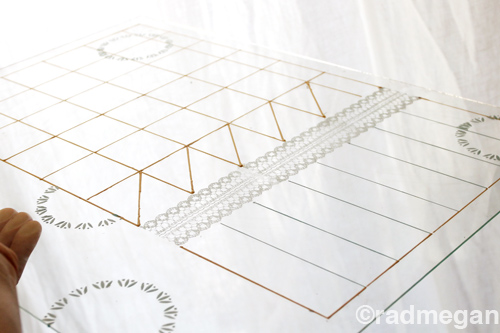
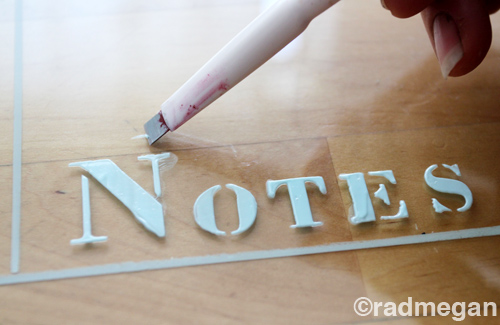
I then grabbed my picture frame’s SECOND pane of glass. Originally, I HAD attempted to use the Martha Stewart letter stencils incorrectly by painting them backwards on the “wrong side” of my first glass pane. This was not a good idea. But thanks to the scraper tool in the Martha Stewart glass paint collection, fixing mistakes wasn’t difficult in any way, and only proved to me that you should, in fact use some tools as they are meant to be used…
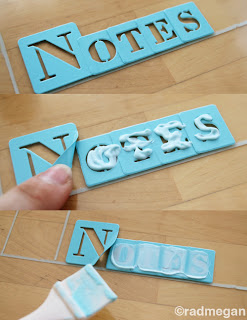
So! On the “right side” of my second pane of glass, I used the letter stencils to spell out “Notes” and “THIS MONTH.” I left the calendar numbers off, so that I could write & re-write the numbers of each month with dry erase marker and use my calendar all year long…
Here’s a glimpse at my favorite tool- the scraper. Mine is already well-used and totally covered in paint, but it still works like a charm.
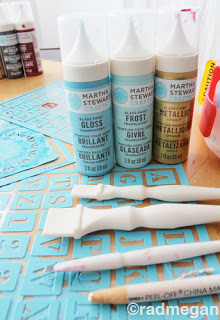
And here are my other favorite tools- the squeegees, my beloved scraper, my personal wax pencil (not included in the kit- but useful in MANY craft!)
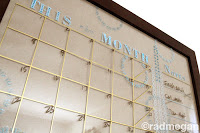
After I had finished decorating my glass pieces to my liking, and they had both dried COMPLETELY, I placed the painted calendar pane on top of the pane with the lettering (still keeping the paint-free side facing out) and then slid the two sandwiched glass panes into the frame.
The reason I love this particular style of frame, is that you can leave a background off of your dry erase board and let your wall paint, wallpaper or wood grain (seen above left and top of the post) show through as you write on your calendar, or you can use your favorite craft paper (above right) to mount behind the frame and give it a bit more definition and customization options.
Again, big big thank to Blueprint Social and Plaid’s new Martha Stewart glass paint!
To follow Plaid and learn more about their complete line of awesomeness, check them out online on Facebook, Twitter, and Pinterest.
Disclosure: This post was written as part of a paid campaign with Martha Stewart Glass Paints and Blueprint Social. The opinions in this post are my own.
Want to see more Martha Stewart Glass Paints projects?




This is so pretty!
Thank you Maryanne!
xoxo
radmegan
Super, super, Super cute! The scotch tape is genius!
Its a real finger-saver too! As soon as I took it off, I also sliced my finger a little! Be careful when moving heavy glass around, people!
xo
xo
radmegan
Did somebody say AWESOME? ~ yep…that’s my take on this…absolutely awesome!
You are so sweet- thank you Mary Beth!
xoxo
radmegan
Love it! Thanks for sharing so many great tips too!
How COOL!!!!! I LOVE this idea!!!!! Thank you SO much for the great inspiration!!!! I am totally doing this! :o)
Jaime from Crafty Scrappy Happy
This is amazing – I need a calendar also, so this very timely!
Clever, creative, cool style and just a great project. I like it a lot.