I grew up with a hobby horse. In fact, when I went home for Christmas this last year, I asked to bring it home with me. We had a lot of fond memories, and I wanted to see what kind of shape he was in. After all these years, I was pleasantly surprised.
Sometime last year, I ran across a tutorial for hobby horses from socks on the blog lightbluegrey, and since then, I’ve wanted to make my own! So this week, I set out to make a pair of horses for my sweet goddaughter and her little dumping of a sister!
The materials I used for my hobby horses were:
– New, brightly colored mismatched socks (men’s size large)
– Pillow/Plushie stuffing
– Heavy wool felt in assorted colors
– Chunky wool yarn
– Assorted buttons
– Tacky glue
– Leather scraps- or an old leather handbag
– Acrylic thread
– Embroidery floss and needles
– Awl
– Needles & thread
– Hand drill
– Long wooden dowels or rake handles
– Sander, or sand paper
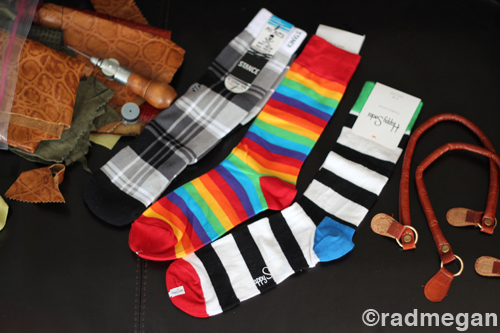
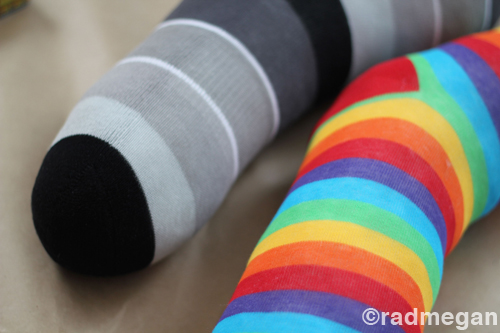
When I started looking online for cute socks, I found three pair that IMMEDIATELY caught my eye.
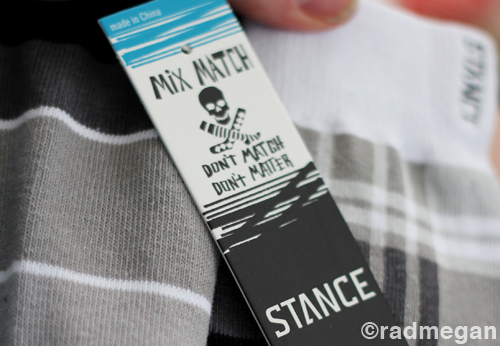
This Mix Match brand ended up being my favorite as far as size, AND in that, the socks truly are mismatched, so you can buy one pair, and make two totally different horses!
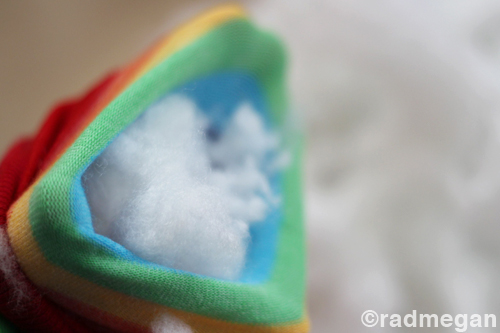
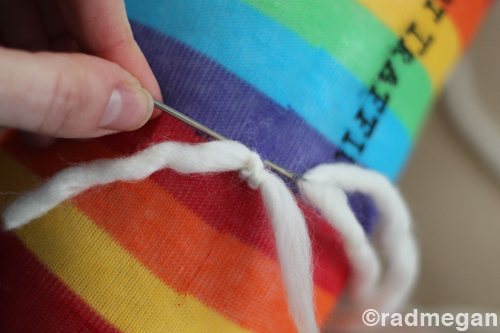
I stuffed two socks FULL of my pillow fluff, and then chose a color of chunky yarn for the mane. I threaded my large-eyed needle, and poked it through the center top of the sock. Then I tied a knot in the center of the yarn segment, and cut it so that equal lengths hung from both sides of the knot.
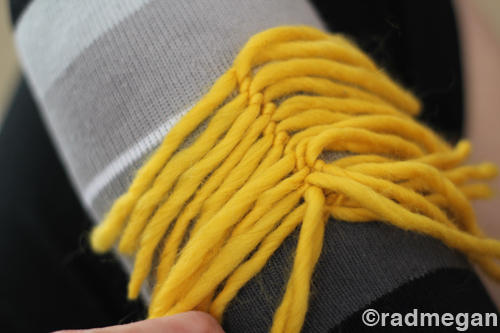
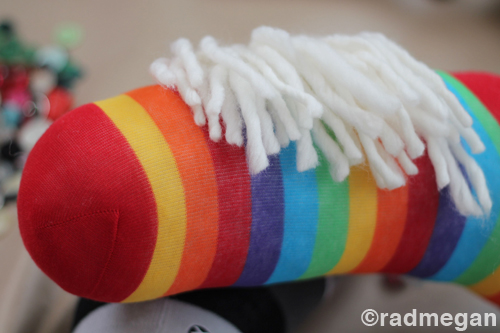
Once the mane was completely tied on, I combed it over to one side and gave it a trim so that that the majority of the strands would be even.
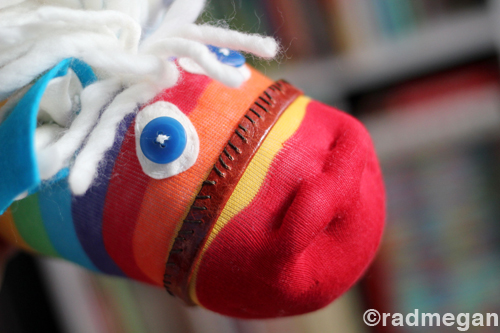
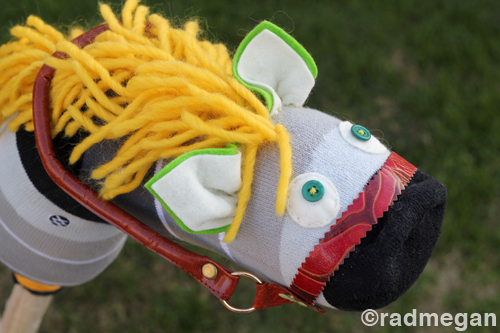
Next up, I cut two felt ovals and stitched buttons onto them. Then I sewed the button eyes straight onto the horse’s face, trying to keep the eyes level. For a more “realistic” horse face, you might want to position the eyes a bit farther back and lower on either side of the head. Let’s just say I was going for more of a cartoony horse face… Or… forgot what horses look like!

After the felt eyes were attached, I stitched all the way around the felt to ensure they would be sturdy.

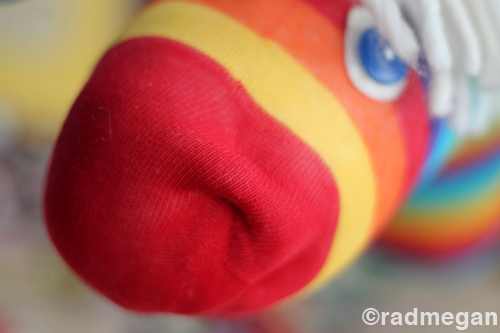
For the horse’s nose, I took a thick pinch of the stuffed sock, and stitched it at the base, using matching thread, so that a structured nostril would form.
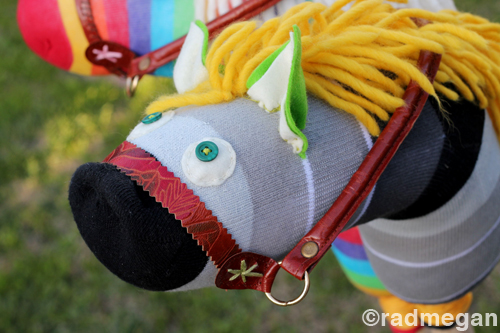
For the ears, I used two triangles (about 3 inches wide) of felt in varying colors, I stitched them together with embroidery thread and reinforced them with a dab of Tacky glue.
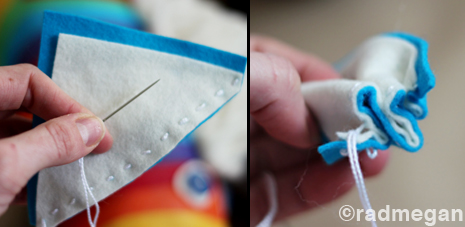
I then folded the ear in thirds, and stitched them to the head on opposite sides of the mane. Again, for a more realistic look, you might want to position the ears a bit further back on the head.

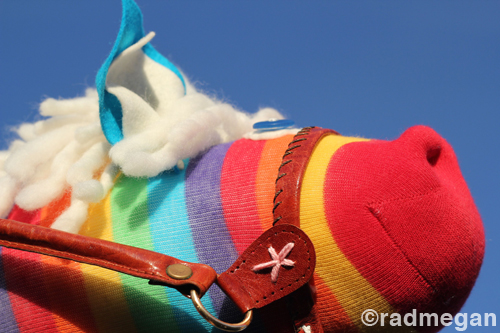
After the basics of the horse face were complete, I moved onto my leather strips and scraps and worked on a bridle. I folded over a long, narrow piece of leather, and with my awl and waxed thread, I stitched it together and wrapped t around the horses nose.
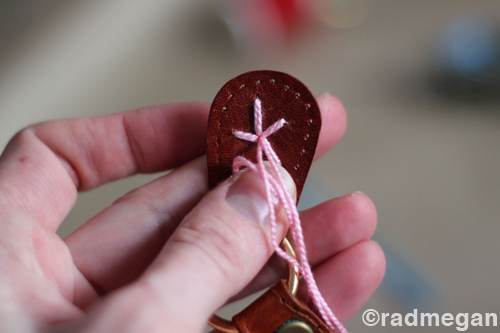
Next, I took the leather handles off an old purse, pieced them with my awl and added a little embroidered stars for embellishment.
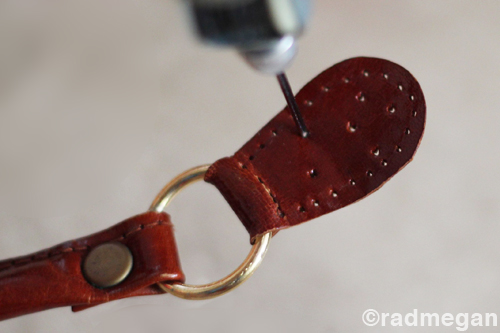
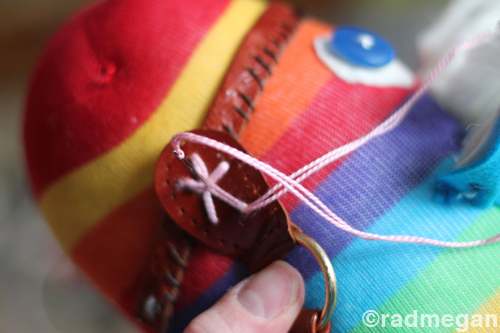
I attached the purse strap to the first leather piece, and let the purse handle act as the reins, falling backwards towards the mane.
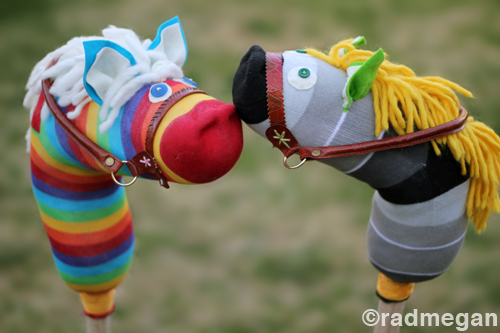
When my horse was assembled, the toe seam made it look like my horse was smiling, and his cheery stripes really made me excited to hurry up and see my goddaughter!

All I needed to do was attach the sock heads to the wooden sticks. I would recommend using a thick dowel or old rake handle. I happened to have two wooden handles left over from the birthday banner project I came up with for Inspired Ideas Magazine, and I was happy to give them new life!
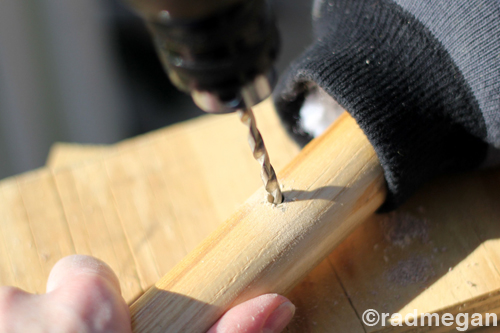
I inserted the long dowel ALL the way into the stuffed head of the horse, and used my hand drill to bore a hole straight through the wood where the elastic band of the sock covered the dowel. I wanted to be able to secure the sock by using glue AND stitching the strong acrylic thread through the handle. (After 30+ years my hobby horse still looks pretty darn good, and I really like giving crafted gifts that I KNOW will last for a long time!)
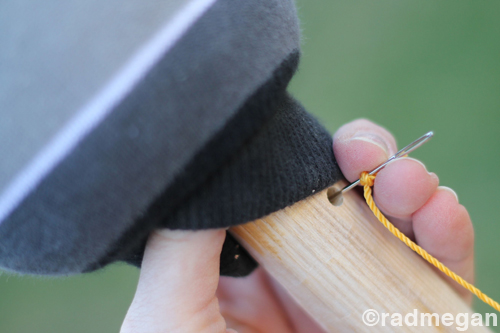

Using a strong needle, I went through the wooden hole, and pierced the elastic band of the sock, then wrapped my thread around and around the base of the sock, over a thin layer of Tacky glue. I would periodically send my needle over and under the layers of thread so that the connection point from wooden stick to fluffy head was STRONG.

I also sanded the dowel to make sure there were no rough spots along the wooden base.
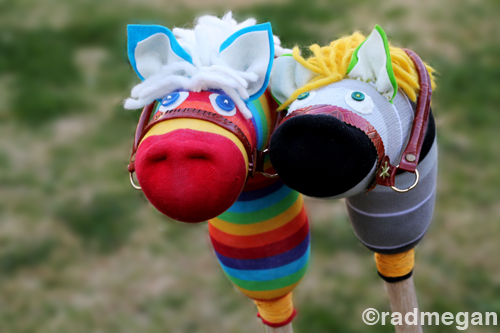
And when I was done, my horses looked SO HAPPY! I love them so much and wish I had more unused rake handles lying around!
I love the little details on both of the horses and think the girls will appreciate the differences in the colors and the designs.
Hopefully they like their new hobby horses, and will want to keep them for 30+ years like I did!
While I didn’t follow the exact directions for LightBlueGrey’s hobby horses, I do really love her pattern and would encourage you to check it out.

You could certainly simplify this design and turn it into a craft that kids would love to participate in!

These are SO SO cute! Love them! 😀
They look very happy! Well done!
You are brilliant – I didn’t know what you used for the handles but how smart from an old purse.
Very Sweet…
So fun! Love the colors- they both look like a couple of characters- I would keep my eye on them!
These are adorable!!
Thank you Inna! <3
And Thank you so much lightbluegrey! You are just the best!
Ahhh thanks so much ga447- I really do try to use all the odd bits I have saved over the years
Amy O’H- It’s true! Once they are paired up w/ the kids I’m giving to, the world is going to have to LOOK OUT! Double trouble x 2!!
Thank you Kelly!! I appreciate it!
xoxo
OMG! Your hosres are so darn cute. I’m thinking I need to fill a corral. Thank you for sharing your project.
These are AWESOME!!! You know it’s so expensive to buy a hobby horse for a little one these days!!! Thanks for sharing this method to make them!
I love this they are so cute. And the photo’s of them are great also!! New follower from Dancing With Words conniemfink.blogspot.com
Thanks for the great sock horse tutorial, I featured it on my blog! http://www.colorfulcanary.com/2015/03/14-great-ways-to-recycle-old-socks.html
Colorful Canary recently posted…14 Great Ways To Recycle Old Socks | Wordless Wednesday
I made several of these using monkey socks some 30 years ago when my son was young. And then again for a high school play that needed horse people. I used a very inexpensive mop for the stick and the mop made the tail. And on occasion it was used as a mop to clean up after the little horse. Now I have a little granddaughter and I think she will be getting a bright striped horse for Christmas. Thank you and try the mop for the stick body. Grandma Mary
Very Nice Blog. Thanks for sharing such an useful tutorial
My son will be delighted as to show him!