• Home
  • About Megan
    • Student Gallery
  • Writing
  • Video Training
  • Knitting Fork Projects
  • Categories
    • Baby Crafts
    • Baking
    • Book Review
    • Camping
    • Cooking
    • Crafts
    • Etsy
    • Gardening
    • Guest Blogger
    • Holiday
    • Kid Crafts
    • Knitting Fork
    • Needle Felting
    • News
    • Photography
    • Recipe
    • Sewing
    • Teaching
    • Travel
  • Sponsorship Info
  • Contact
  • June 21, 2025
Gardening Recipes
 
Craft Projects Photography

Countrified Chalkboards for an Autumn Wedding

October 25, 2011 By radmegan 8 Comments

Over the weekend, I attended my niece’s gorgeous outdoor wedding reception. The bride was beaming and looked downright adorable in her lace gown and cowboy boots. The reception was held in a backyard that looked like a page from a wedding magazine. The whole aesthetic was designed by the bride and executed by her and her mother, my insanely talented sister-in-law. For my part, I contributed a paper pom-pom garland and half dozen hand-made, countrified chalkboards. I’ve mentioned the garlands before, but the chalkboards were so cute and easy to make, that I wanted to share them with you here!

To make your own countrified chalkboards, you will need:
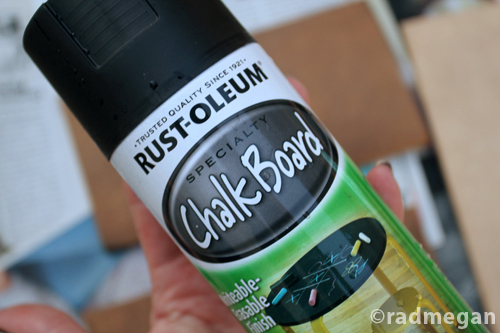
Chalkboard Paint
Press board, Masonite, or any other scrap wood you have lying around
Drill Press, Hand Drill etc.
Jute Cord
Scissors
Wood Glue
Sticks, cut to length

I loved these chalkboards in part, because I already had all of the supplies I needed to make them. I found the press board in my father-in-law’s wood shop and used the chalkboard paint I’d picked up last year!

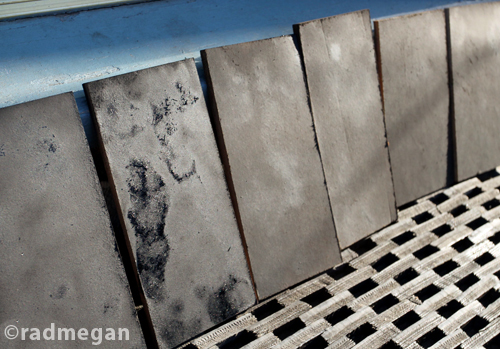
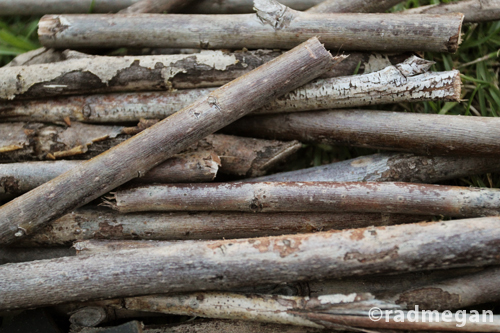
I placed some newspaper down on the back patio and evenly sprayed each board with a couple of coats of chalkboard paint. While my chalkboards dried in the sun, I used the last of a stash of willow branches my husband and I had cut down one inspired weekend. (You may recognize some of them from another post?)

Using a gardening pruner (you could also use a saw), I cut the branches so that they were just slightly larger than my drying chalk boards. 
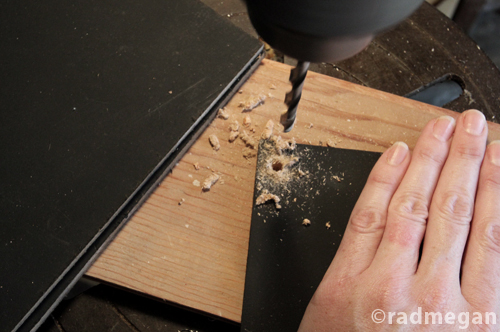
Once the boards were completely dry, I used our drill press and made a hole in each corner of the board using a 1/4 inch drill bit.
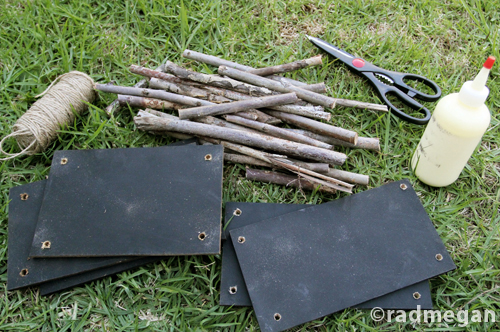
After drilling the holes, I assembled the rest of my materials; wood glue, scissors, jute, and the drilled chalkboards…

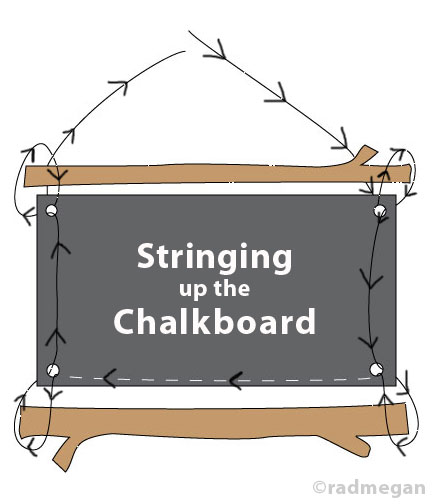
I strung up the chalkboards by taking the jute cord through the TOP RIGHT hole (back to front), and wove it into the BOTTOM RIGHT hole (front to back), up and around the stick, then came BACK THROUGH the same BOTTOM RIGHT hole. I ran the cord across the back side of the board to the BOTTOM LEFT hole, and through the hole (back to front), around the stick and then back through the hole again- bringing the end of the cord out the front side of the BOTTOM LEFT hole, and up across the front of the board to the TOP LEFT hole. I wound the jute around the stick again, and through the TOP LEFT hole, and then tied the extra to the extra cord from the TOP RIGHT hole. Maybe this diagram will help…

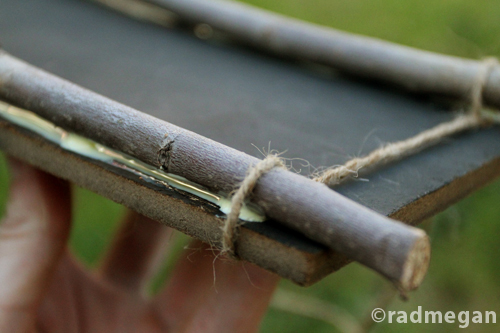
I applied thin lines of wood glue between the board and the sticks, even though the cord, did a great job keeping my sticks in place when it was pulled tight.

When the boards were finished, I grabbed my chalk and got to work labeling them for the wedding!

Tasty, tasty Almond Punch…

The all-you-can-grab candy bar…

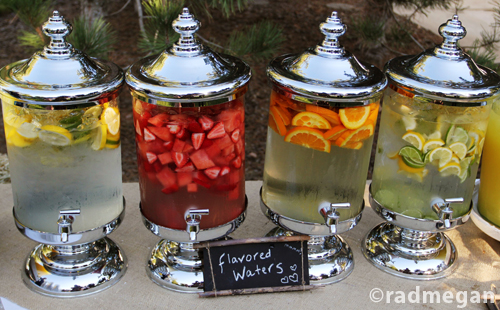
Assorted yummy waters…
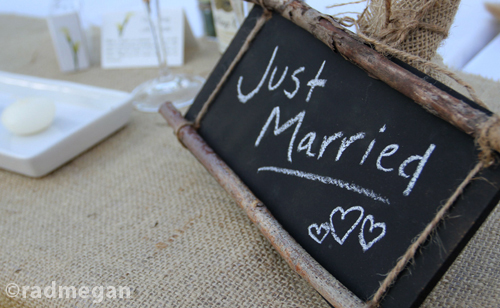
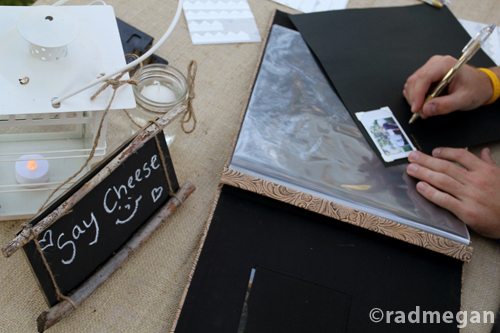
The Polaroid guest book….
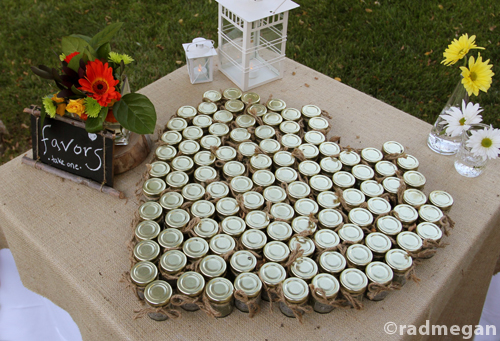
And jars of seeds as favors! 

The whole wedding was gorgeous and I was honored to be there.


And while these chalkboards were a great addition to an already picturesque setting, I think I’m going to use a couple of these in our home. I love how simple and clean they look combining the raw, natural feeling from the sticks with the functionality of a chalkboard! 

FacebookTwitterGoogle+PinterestShare

Related posts:

Available Now: The Art of Craft Photography Posh Paper Hats for a Royal Wedding (on TV) Needle-Felted Peeps: Pattern Now Available Chalkboarding Everything The Craftcation Conference: An Inspiring DIY and Indie Business Whirlwind! IMG_1866+copyKnitting a Jute Satchel

Filed Under: Crafts Tagged With: chalkboard, Crafts, decorations, DIY, jute


Warning: count(): Parameter must be an array or an object that implements Countable in /webroot/r/a/radme001/primary/www/wp-includes/class-wp-comment-query.php on line 399

Comments

  1. Jess says

    October 25, 2011 at 6:20 am

    Love this idea!! I picked up some “beaver sticks” from the pond and I think I’ll use them for this… Tnx! -Jess

    http://www.whimsyjs.blogspot.com

    Reply
  2. Anonymous says

    October 25, 2011 at 6:54 am

    I love these and I want to make some soon! So cute! xD

    Reply
  3. Catherine says

    October 25, 2011 at 7:34 am

    Oh sweet, I didn’t know you made those. They turned out awesome! It’s such a versatile technique. You could make a big one like a memo board or tiny ones for Christmas ornaments. So fun, I love the rustic feel of them!

    Reply
  4. Jessica Lynn Perkins says

    October 26, 2011 at 8:27 am

    These are freakin’ awesome!!!

    Reply
  5. Sara Eaker says

    October 26, 2011 at 5:23 pm

    I love chalkboards and these are super cute with their tree branch borders. Adorable. I want to make one!

    Reply
  6. willwork4hair says

    October 26, 2011 at 9:54 pm

    LOVE!! I did a polarroid guest book at my reception a couple years back I LOVED it!!

    Reply
  7. angry birds rio says

    October 31, 2011 at 12:11 am

    So cute! thanks for sharing.

    Reply
  8. XYNSwQIXHoQcPmq says

    November 7, 2021 at 7:10 am

    ecemSerkeuIxWmKVMg 4261

    Reply

Leave a Reply Cancel reply

Your email address will not be published. Required fields are marked *

CommentLuv badgeShow more posts

Follow Me

  • 
  • 
  • 
  • 
  • 
  • 

Find posts on this blog about…

Instagram

Get posts via email

Welcome!

I'm a crafter, cooker, gardener, and photographer.
Read More...
Learn Craft Photography with Radmegan

Friends

back to top
© Megan Andersen Read. All rights reserved.
Interested in using my photographs? Contact me.
Web design by Hearts and Laserbeams