Hi friends! I’m frantically stuffing far too much clothing into an oversized duffel bag along with a handful of last minute-crafts…
I wanted to be sure I left the radmegan blog in good hands for the next few weeks while I record my craft-photography video courses!- Which is why I have some of my all-time favorite bloggers lined up to bring you awesome crafts, tips and recipes while I’m out. The first gust post comes from my unbelievably crafty cousin-in-law! Seriously- everything she does is incredible! I hope you enjoy… xoxo radmegan
Hello to all you awesome radmegan readers! I’m Catherine from Cat on a Limb and I’m so excited to be here with a guest post for Megan while she is gallivanting around somewhere in Europe. I first met Megan this past November on Thanksgiving Day (as one of my newest relatives by marriage) and instantly felt like kindred creative spirits. I love keeping up with all her various creations – isn’t it amazing what this woman can do?! I was really flattered when Megan asked me to write a post for her blog during her absence and hope you all will enjoy the project I’ve come up with!
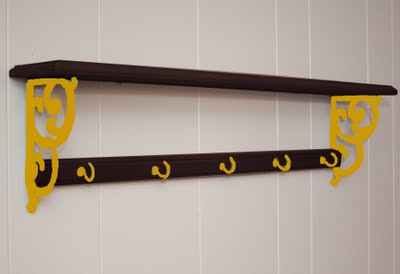
A while back I picked up a shelf from a thrift store. I wasn’t exactly sure what I wanted to do with it, but I loved the swirly brackets and the hooks on the bottom. Unfortunately I was too eager to get started (months ago) and forgot to take a “before” picture, so I created a mock up for you to get an idea. The hooks and brackets were brass colored and the wood had a dark brown finish.
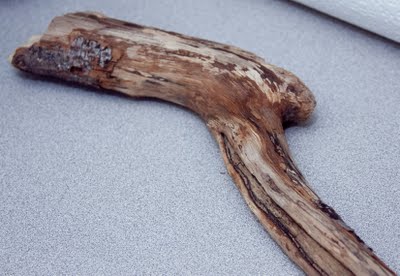
I originally was going to paint the whole thing white and put a metallic finish on the metal pieces. A few months ago I started painting it with white primer, but never finished. We recently moved (into a rental with white walls) and I decided to place my shelf in the bathroom-but I wanted a color other than white. I had just gone to the beach with my two young kids (my first time in 9 years!) and was struck by the beautiful colors and look of the driftwood we found on the beach.
I decided to strip down the shelf and see if I could mimic that look in a fairly easy way. After searching around the internet for a while I was just coming up with chemical suggestions – not good with kids around – or soaking steel wool in vinegar for a week — sorry too impatient for that! Then I stumbled across someone suggesting a 1:1 ratio mixture of baking soda and water and let the wood sit in the sun all day. Well, we only get direct sunlight for a few hours, so I tried thinking of something that might expedite the process. This might have just been pure silliness on my part but I thought, well, why not use the baking soda idea and add vinegar? A fizzy, bubbly, chemical reaction must be doing something… right? (Ok, I admit, my last chemistry class was 10 years ago…)
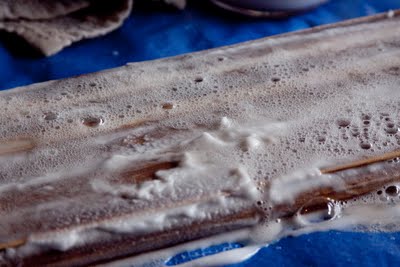
I started out by sanding to remove the primer, although it left a lot of the finish on the wood. I mixed up the water and baking soda, then spread it around on the wood.
Next I drizzled vinegar over the baking soda mixture. Spraying would probably be better but I didn’t have an empty spray bottle around.
I let it sit for about 5-10 minutes then used a wire brush to scrub the wood.
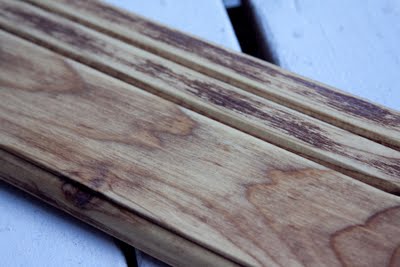
I then rinsed the whole thing off with water and dried it with a towel. It did a good job of removing most of the finish and I even liked the look of the little bit that was left.
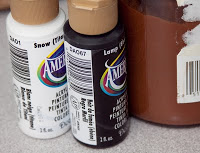
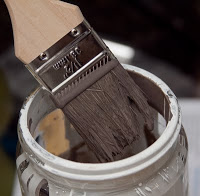
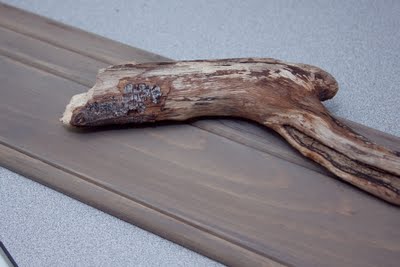
I liked the look so far, but it didn’t have the grayish “weathered look” that I wanted. I mixed leftover brown glaze (4 parts glaze medium to 1 part latex paint), added some black and white craft paint, and a little water to thin it out.
I don’t have photos of this next step because I had to work too fast and couldn’t stop for pictures, BUT I brushed on small amounts of the glaze mixture and immediately wiped off any excess with a wet rag. The bare wood soaked it up really fast so I had to work quickly! With the damp rag, I removed just enough of the stain that the wood grain was just barely visible through the glaze. I continued until the whole shelf was completed stained.
Of course you can always do other things to make it even more weathered- like sanding large areas down, gouging it, denting it, etc. I kept the integrity of the wood in-tact in case I wanted to re-paint it again later on.
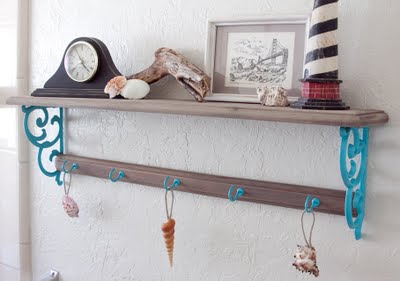
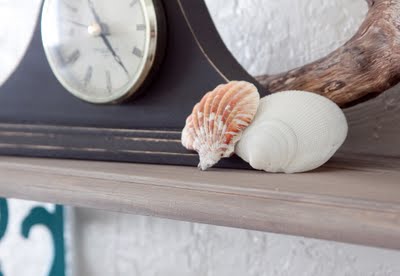
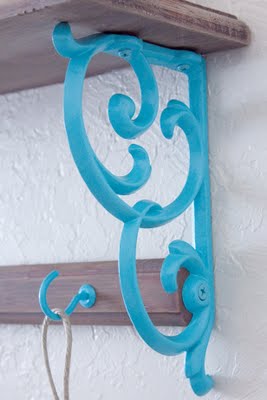
I also painted the brackets and hooks aqua blue and made some seashell ornaments to hang on the hooks. Here is the final result:
Thanks so much for letting me spend the day with you here at the radmegan blog. Be sure to come on by Cat on a Limb and say hi!
Catherine





I’ve never seen baking soda and vinegar used to take off paint before. Great tip! Love the color you chose for the metal parts! Thanks for sharing.
Great tutorial! I’m definitely going to try the baking soda/vinegar trick next time I need to strip some wood! Thanks for sharing
xoxo
Janee
yellowbirdyellowbeard.blogspot.com
You did what with what? Oh man, that’s genius, I GOTTA try that. Thanks so much for this post! Your shelf looks a million bucks, I could picture it in my bathroom… *sigh*
This is so cute! We’ve been looking for ideas for our entry way – something to go with our old barn wood bench/shoe shelf. I like this!
Thanks everyone! Just a quick FYI, the method didn’t work for the actual paint (I had to sand for that), but did work for the stain/thin finish on the wood.
So clever!
And it looks great!
Great idea…will put that to use. Beautiful job, love the piece!
My family just took possession of a beach house on cape cod and they need a sign for the road. I’m thinking about making them a sign using this tutorial. I guess I need to stain a wooden sign first and then take it off using this tutorial. Thanks for an easy way to do so =)
Yeah! When I moved into my home, it the old square pane windows. When I switched those windows out, I refinished ONE window with stain glass….it took days and days to get all that paint off! Sure wish I had known this nifty trick then…
How clever you are to figure this out, I would never have thought about using vinigar and baking soda to weather wood. Thanks for sharing.
Traci
Vinegar and soda will clean just about anything! The shelf is adorable!
Catherine:
Our younger son moved to Seattle from the east coast last year. I wanted to provide him with a photo of my wife and I taken in front of an outdoor waterfall in downtown Seattle. Knowing that Matt appreciates crafts, I wanted to use a weathered barnwood frame yet the costs exceeded my budget. I came across your blog on the radmegan site and I must say, was very inspired by your shelf project!
To make my frame then, I found lengths of discarded door casing, 2-1/2″ wide, that had been stained a reddish honey some 50 years ago. I did try the baking soda and vinegar method with no success. I then thought of using a wood file and began filing away, removing the old stain completely, leaving just the right amount of residue and distressing. I am now ready to rub in some colors to achieve that barnwood reconstituted wood look. Thanks for a great spot and your pics.
Ken
NJ
Baking soda and vinegar just make water – they neutralize each other out – the bubbles are carbon dioxide gas being released. Which probably isnt going to help strip the wood.
I am interested in doing this for my red oak steps- what kind of wood did you use for this project?
I and my buddies came checking the best suggestions located on your web blog while before long I had an awful feeling I had not thanked the website owner for those techniques. All of the young men were totally excited to learn all of them and have now pretty much been taking pleasure in these things. Appreciation for actually being quite kind and then for getting variety of smart resources most people are really desperate to know about. Our sincere regret for not expressing appreciation to sooner.
decoration piece