• Home
  • About Megan
    • Student Gallery
  • Writing
  • Video Training
  • Knitting Fork Projects
  • Categories
    • Baby Crafts
    • Baking
    • Book Review
    • Camping
    • Cooking
    • Crafts
    • Etsy
    • Gardening
    • Guest Blogger
    • Holiday
    • Kid Crafts
    • Knitting Fork
    • Needle Felting
    • News
    • Photography
    • Recipe
    • Sewing
    • Teaching
    • Travel
  • Sponsorship Info
  • Contact
  • August 14, 2022
Gardening Recipes
 
Craft Projects Photography

Green Gardening: Worm Bin Update!

May 5, 2011 By radmegan 3 Comments

Pretty Food Scraps

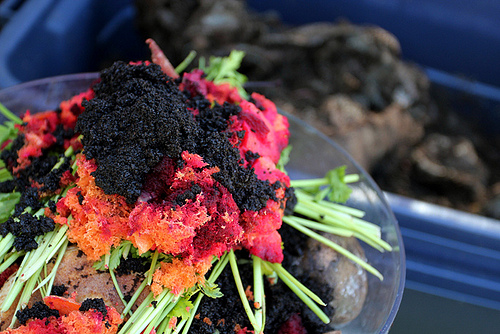
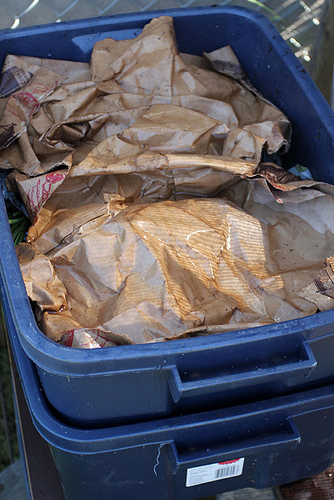
So, a couple of months ago I made a worm bin. I wanted a source of organic fertilizer, and to reincarnate my veggie kitchen scraps. Tossing them in the trash seemed like such a waste. Making the worm bin was pretty darn easy. Keeping it thriving, was even easier than I expected. I currently feed my worms about once a week, and check the top layer of cardboard for moisture at each feeding- adding more water if the cardboard is a bit dry. The worm bin has become my inconspicuous little fertilizer factory.

Castings...

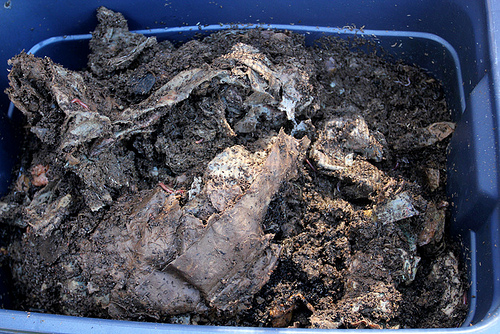
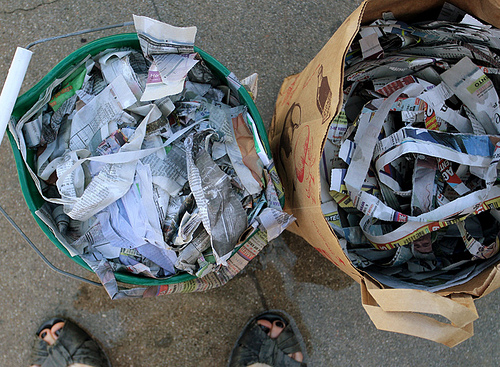
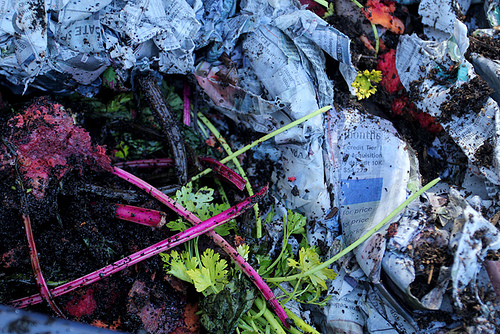
During the past couple of weeks, I started noticing that all of the newspaper fluff that had once been clean worm bedding had transformed into dark brown worm poop- the fertilizer I had been wanting! It was time to give the worms a new newspaper home, and harvest my “crop.”

4-Weeks Worth of Sunday Papers
I started making a second “story” for the worm bin by taking the second plastic bin I had drilled back in February, and filling it with wet newspapers strips and a handful of potting soil. I placed it directly on top of the first, poopy bin.
Adding the Scraps
I dumped in the stale bread, old fruit & veggie bits and coffee grounds I’d been saving. The idea is that the worms will migrate from the bottom bin, up through the little holes we drilled (see original post for step-by-step instructions) in the bottom of the bins, and enter the top container, where they will eat up the food scraps, and wet newspaper, starting the fertilizer-making cycle all over again!

Breakfast

I added two layers of wet paper bags over the top of the newspaper and kitchen scrap bedding, and put the plastic lid directly on top of the container. (There is no lid on the lower container- it’s set directly atop the worm castings)

Covered Up

In a week or two, all of my worms should have migrated to the top bin where the new food and paper waits for them. At that time, I’ll be able to scoop out the worm castings from the bottom bin and feed my garden with my home-grown fertilizer! 

Fat Worm

If your mum is like mine, and loves digging in the dirt and tending to her garden, this would certainly be a memorable Mother’s Day gift… 


FacebookTwitterGoogle+PinterestShare

Related posts:

Green Gardening: Making a Worm Bin 5537345011_df973d390cRooting Herbs from Cuttings 5518032180_956a89869bEggshells in the Garden New Uses for Useless Newborn Shoes Natural Egg Dye: A Sneak Peek! IMG_6423Mounting Staghorn Ferns on Cedar Planks

Filed Under: Gardening Tagged With: container gardening, fertilizer, green, mother's day gift ideas, organic


Warning: count(): Parameter must be an array or an object that implements Countable in /webroot/r/a/radme001/primary/www/wp-includes/class-wp-comment-query.php on line 399

Comments

  1. Janee Lookerse says

    May 5, 2011 at 10:51 am

    You’re crazy. That’s all. Just crazy. If I’m going to have to do all that to have a garden as nice as yours… you might have to count me out. It doesn’t gross me out, its just too much work! :)

    xoxo
    Janee
    yellowbirdyellowbeard.blogspot.com

    Reply
  2. melissa says

    May 5, 2011 at 12:36 pm

    You are so stinkin’ amazing Megan, I can’t believe it!

    If I saw this post a tiny bit earlier, I could’ve saved myself a boatload of money. I was beguiled by the super cute stand at the farmers market, and bought a premade worm composter. What a mistake. I should have known there was a less expensive way of doing it. Your dear husband will be so disappointed in me…sorry.

    Reply
  3. radmegan says

    May 5, 2011 at 1:02 pm

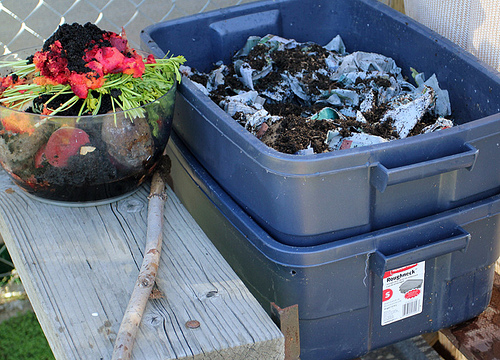
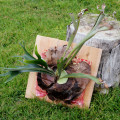
    Janee!! Silly goose. Just come on over, I’ve got LOTS of worm poops for you. I’ll even bag them up. Seriously tho- this is EASY! You could totally hand it. See the stick next to the food bowl in the pic 4th from the top? That’s my “feeding tool” so that I can push the worms and their newspaper around w/o touching anything :)

    Melissa! I will NOT tell him :) You of all people should make one of these- I know you are a juice-maker- that left over pulp is PERFECT worm food. Plus the boys would totally love it! :)

    xoxo

    Reply

Leave a Reply to radmegan Cancel reply

Your email address will not be published. Required fields are marked *

CommentLuv badgeShow more posts

Follow Me

  • 
  • 
  • 
  • 
  • 
  • 

Find posts on this blog about…

Instagram

Get posts via email

Welcome!

I'm a crafter, cooker, gardener, and photographer.
Read More...
Learn Craft Photography with Radmegan

Friends

back to top
© Megan Andersen Read. All rights reserved.
Interested in using my photographs? Contact me.
Web design by Hearts and Laserbeams