I’ve started seedlings in containers all over our house. After Punxsutawney Phil saw his shadow, I sprang into action getting my seeds, my garden, and myself ready for an early spring. Getting myself ready for spring took little more than thumbing through my seed packets and taking inventory of what seeds I collected last year. Getting my seeds ready included putting handfuls of dirt into any container that would hold still long enough to sprout an assortment of wee green shoots. 
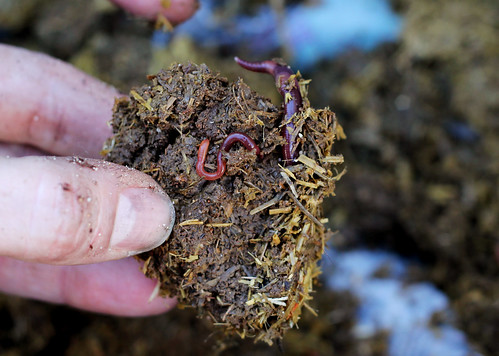
And part of getting my garden ready included a dirty job that I’d been thinking about for weeks, but finally got some traction on when I went to visit my parents in San Diego last month. While there, my mom, aunt and I went to my mom’s favorite nursery, Walter Andersen. I had been showing tremendous restraint by only picking up a few packets of seeds, and then at check-out I spotted them; sacks and sacks of red worms. Naturally, I had to buy a 10-pound bag of worms and bring it home to make a worm bin. 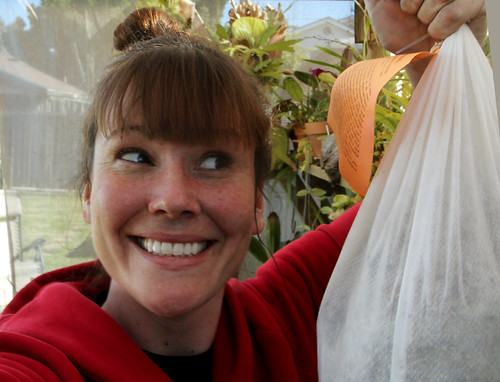
Why would any sane person bring home a 10-pound bag of red worms? Because both worm castings (worm poop) and worm “tea” (what happens to the worm poop after it has soaked in water and oxygenated) are incredible fertilizers, and one of the key ingredients for the big fat vegetable harvest I’m counting on this year.
Once I secured the red worms (which can also be found slowly, but for free by overturning pots in the garden, or by putting wet cardboard on the lawn or garden at night), I needed two 8-10 gallon dark plastic storage boxes, a drill with 1/4″ and 1/16″ bits, and lots of shredded newspaper.
I started by drilling about twenty evenly spaced 1/4 inch holes in the bottom of each bin. These holes provide drainage and allow the worms to crawl into the second bin when the castings are ready for harvest. After drilling, I took care to remove the sharp plastic ridges around the holes. I was thinking that if *I* was a slimy worm, I would probably not be stoked to crawl through such a sharp exit.

Next, I drilled ventilation holes about 1 – 1 ½ inches apart on each side of the bin near the top edge using the 1/16 inch bit. I also drilled about 30 small holes in the top of one of the lids. 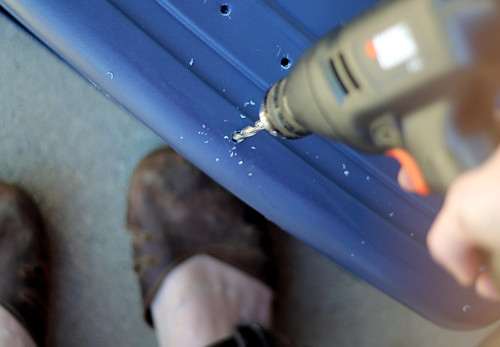
I shredded about 4 weeks worth of Sunday papers and soaked them in a bucket to create the bedding. Worms need bedding that is moist but not soggy. After soaking the paper in water, I squeezed out the excess and fluffed it all up. 
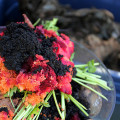
I covered the bottom of the bin with about 4 inches of the newspaper strips. If you have any old leaves or leaf litter, that can be added also… I didn’t, but my worm sack was full of what looked like horse manure and leaf litter, so I figured that was sufficient. I also read that a handful of dirt was a good “grit” to help the worms digest their food, so I tossed that in as well. 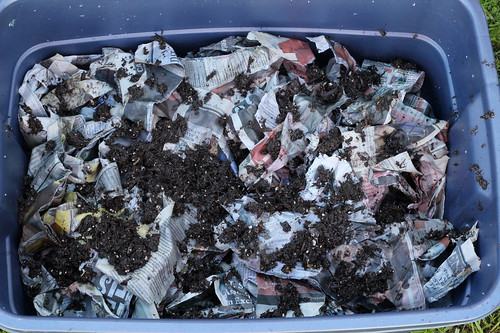
Finally, it was time to add the worms to the bedding! I was so excited when I opened up the sack I’d picked up at the nursery. The packaging said that my worms came from a place called Sharon’s Worm World (760-788-4423) in Ramona, California, and warned against using leaf mulch that includes oleander, foxgloves, or other toxic and poisonous plants. They will kill the worms straight away.

Apparently, an earthworm can consume about 1/2 its weight each day. So if my daily food waste averages 1/2 lb., that will feed 1 lb. of worms. (2:1 ratio) 
Lastly, I cut a piece of cardboard, wet it, and placed it over the newspaper bedding. Worms love cardboard!!
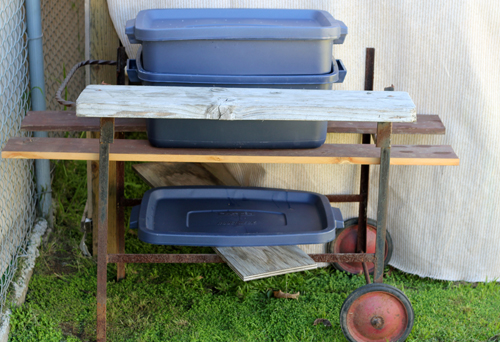
I placed my bin on an old barbecue stand in a shaded part of the garden, but you could place your bin in any well-ventilated area like a laundry room, garage or balcony. Just make sure the bin is off the ground (either on blocks, or a frame) to allow for drainage. The lid of the second bin can serve as a tray to catch any moisture that may drain from the bin. This is the “worm tea” that makes a great liquid fertilizer. 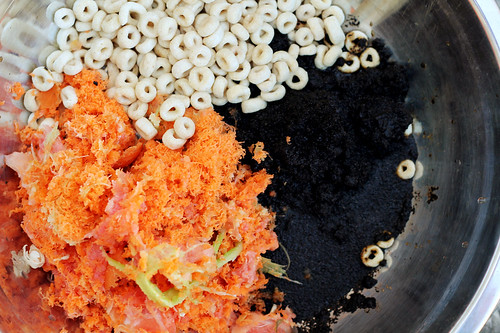
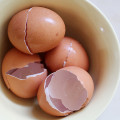
As the worms multiply, they will need food. I gently buried the food (Worms love breads, grains, cereal
, coffee grounds & filters, fruits
, tea bags
, vegetables. Worms hate dairy, fats , meat
, feces, oils.) in a different section of the bin each week, under the cardboard. The worms will travel towards the food scraps around the bin. Feed worms ONLY a vegetarian diet.
When the food scraps are no longer recognizable, and the bin is full, place new bedding material in the second bin, directly on the compost surface of the first bin. Bury the food scraps in the bedding of the second bin. In one to two months, most of the worms should move to the second bin in search of food. Now the original bin will contain (almost) worm free “vermicompost“. Gently lift out any worms that remain, and place them in the second bin, or put them straight into the garden.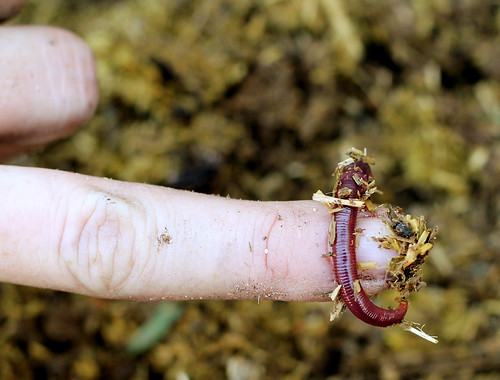
Good luck and HAVE FUN!!
For more information on composting with red worms, check out this link, and these awesome books:


Loving that you posted about this! I’ve been wanting to start a worm bin for a couple years now. Well…studio apartment living on the 3rd floor doesn’t really allow that…and now that I’m in a nice house w/yard, I have to convince my other half that a big bin of rotting food and worms is a good idea. Wish me luck!
Question: If I do start one soon, will we have fertilizer for this year’s garden? If not, how does one store worm squidge until ready for use?
My neighbor has used this methods for a few years. She is a scientist.
Hey Cassandra thank you for the comment! I believe you WILL get fertilizer during year 1 of this project! It should only be a few months before the worms eat up everything in your bin and provide you with lots and lots of castings. I would store the worm tea in an old milk container, and the castings in a breathable muslin bag (set inside a bucket)
Good luck dear!! Hope your other half is on board!
Thanks for the comment ga447! I’m glad to know this craft is scientist-approved
xoxo
radmegan
what a great idea!
Can you do a post now on how to harvest a worm bin? I have been using a bin for 3 years, harvesting is not so easy. Also when I use the harvest ‘dirt’ then the animals in yard dig up everything i planted because it smells like food! any tips of the trade would be most welcomed!
Thanks for the post mate you have written it very well.
Creative ideas.I really love your content so much,Thank for sharing.