A month ago, my husband and I began building a chicken coop for my mom. We were a bit over ambitious in our design (which was merely a pixilated photo off the internet that we tried to replicate) and did not complete the coop in the allotted weekend.
Last weekend, we headed down to San Diego to complete the task! Get ready for an awful lot of photos. We went nuts on this coop!
We began by taking inventory of what the coop still needed; build and install a door, make nesting boxes for egg-production, create an interior “apartment” for the chickens to retreat to at night for roosting, build a ladder and way for them to exit their chicken “apartment”, finish enclosing the last outer panel and two interior triangle panels with hardware cloth, cut and install an air vent and seal all the exposed wood. That’s another day’s worth of work, right?
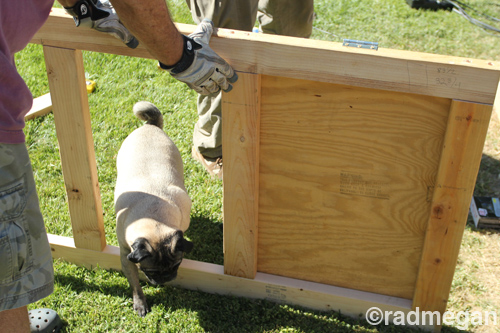
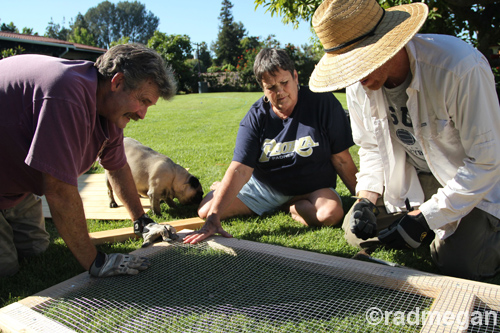
We started by framing the door. Mind you, we don’t build chicken houses, or houses, or many structures at all, so just about every component was a new puzzle to figure out. For instance, doors are more stable and sturdy when you add a brace and a kick plate.
And trying to make anything come out “square” on all sides while working on a grassy lawn, is not ideal.
Also, pug dogs and parents are a tremendous help. <3
Once the door was built and we nailed down the hardware cloth, we added hinges and put the door on the coop. It took the better part of the day, and at some point I lost track of photo-taking because my hands were busy with hammering, screwing, or cutting something!
Next up, the all important nesting boxes, aka: the egg factory.
We had cut out the platform for the egg boxes on our last trip, but hadn’t really figured out how they would work.
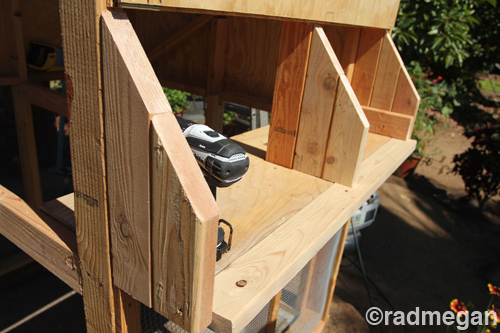
We started by cutting and attaching the lid of the box so that we could see what kind of angle we wanted and what would be comfortable for my mom to reach into while collecting eggs. Next, we began adding segments of a 2×4 that were cut at the desired angle. These would become the walls of the nesting boxes.
Glamour shot of the installed door and our nesting box stopping point on day 1.
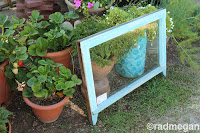
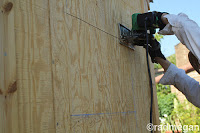
The next morning we started fresh at a new section of the coop. My mom had an old, weathered looking window (similar to the one on the adjacent wall which we had installed on our previous trip. Using our chalk lines to measure and then the circular saw to cut, we made a space to install the window.
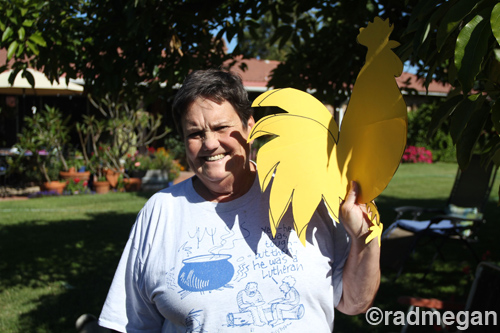
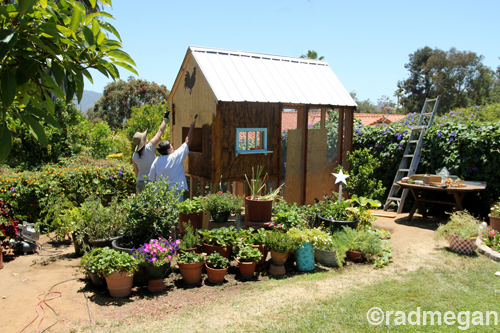
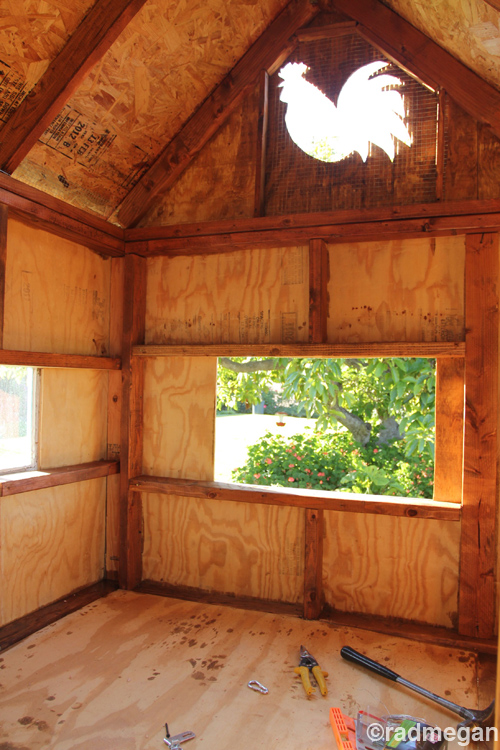
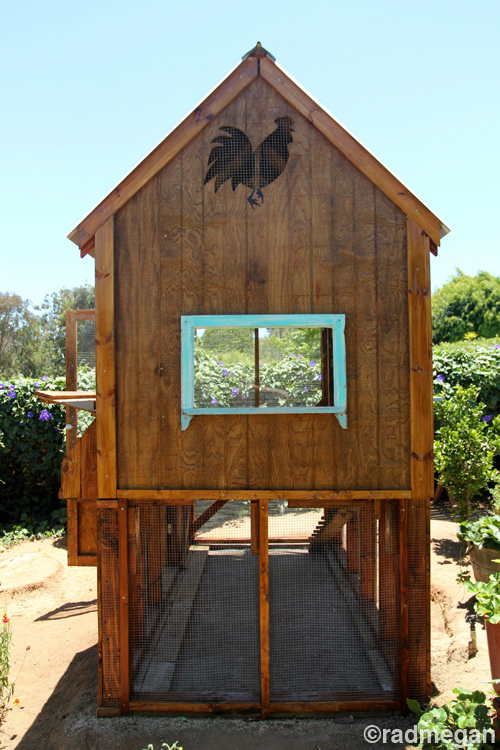
While we were cutting holes in our coop, we decided it was time for the air vent. After a little pondering about whether to go square or circular, we came up with a MUCH better idea: a rooster-shaped vent.
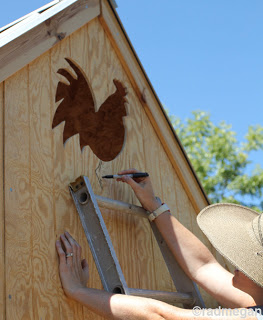
Mom whipped up a pattern and we traced it on the upper panel of the coop.
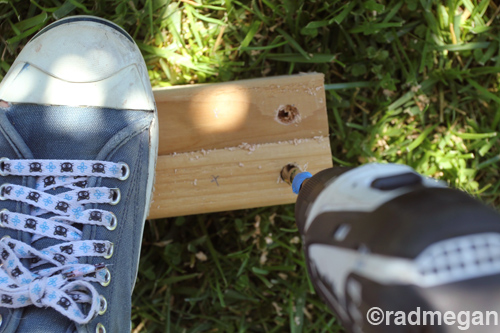
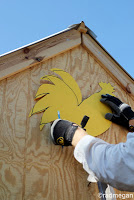
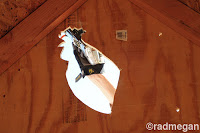
After drilling a few holes to allow the blade of the jig saw to fit, my husband expertly cut out the PERFECT outline of the rooster. That man is crafty too, I tell ya!
As soon as the rooster shape was cut out, we all sat around for a few minutes oohing and ahhhing at it.
I drew on some feet so that we didn’t have to risk such tiny and fragile cuts, and then we admired it again…
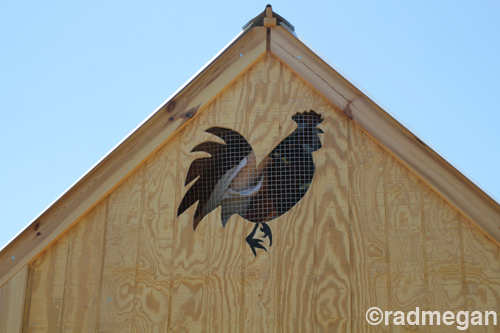
From the outside, with hardware cloth being tacked up from the inside…
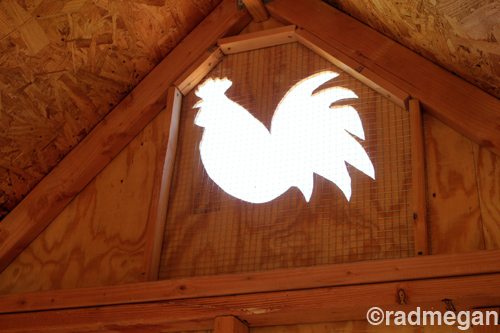
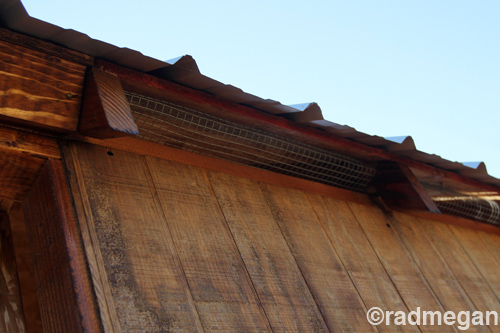
From the inside, with hardware cloth fully enclosed by boards to prevent any unwanted visitors…
My husband, went back to the nesting boxes to reinforce the design we had built, and allow for locks to be added to the design. No raccoons will steal our eggs anytime soon! (Hopefully!)
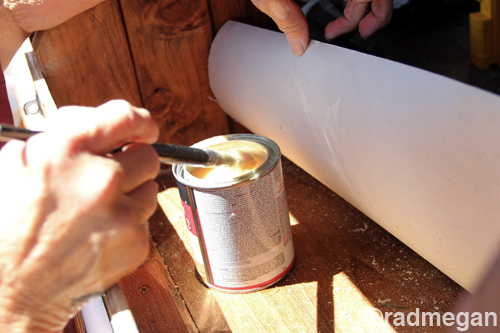
Meanwhile, my mom and I began staining and sealing the wood.
I became a bit obsessed with sealing EVERY square inch of exposed wood (I’m not sure we have it in us to build another coop, so it was very important to take care of this one.) I may have dripped sealant on myself a few thousand times…
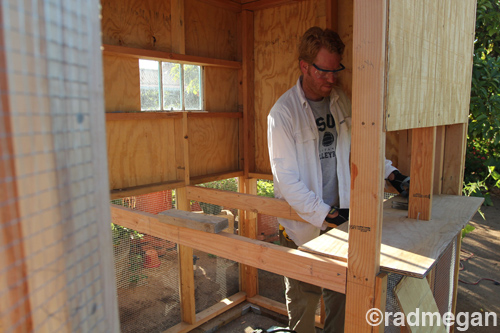
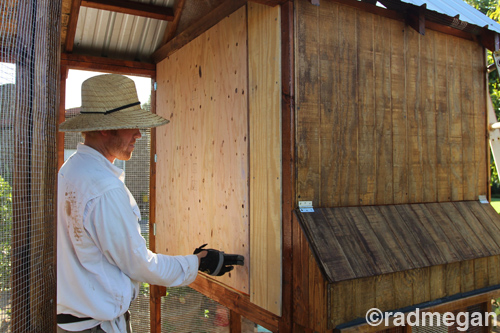
As we sealed, my husband cut and framed the door for the interior “apartment.”
Once the door was on, I of course had to crawl inside to see how the chickens would like it.
The photo above is the view you have when standing on the floor of the chicken “apartment” looking out through the hardware cloth and through the coop.
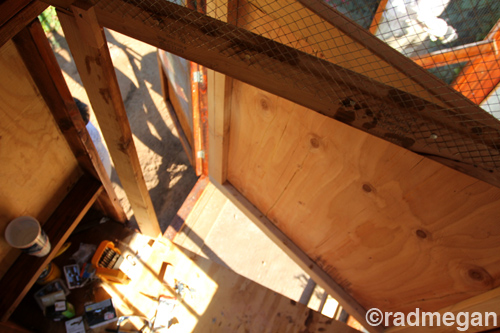
And this is the view looking straight down. See the floor of the “apartment” I’m standing on? And that’s the door that swings open to allow the “apartment” to be cleaned out.
For further context, I’m now sitting on the “apartment” floor I had been standing on to take those two previous photos.
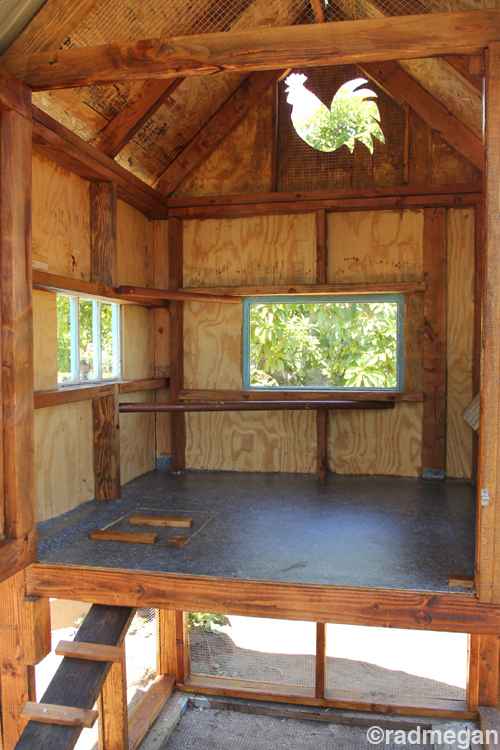
This is the inside of the chicken apartment, facing the window and vent we’d cut out.
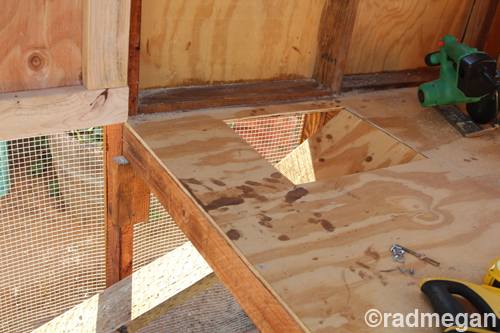
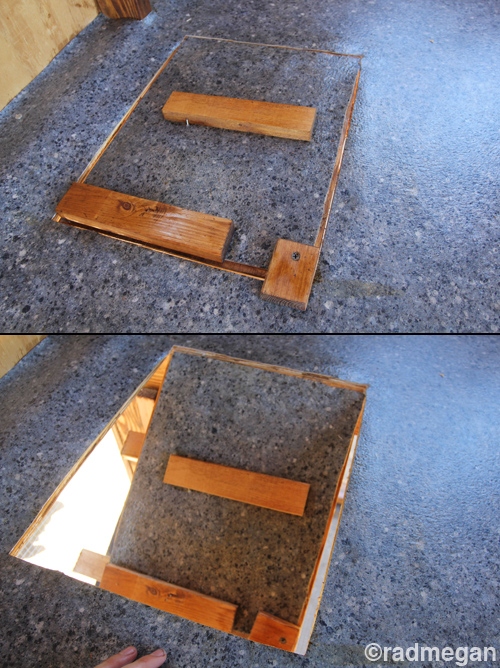
And this is the trap door we cut into the floor so that the “apartment” door could remain closed, but the chickens would have a way to get inside.
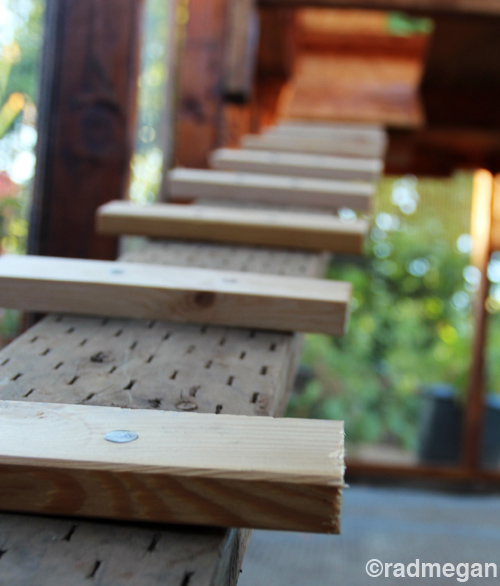
I measured, cut and nailed segments of a 1×4 board to an old piece of Wolminized wood make the ladder a bit easier for tiny chicken feet to use.
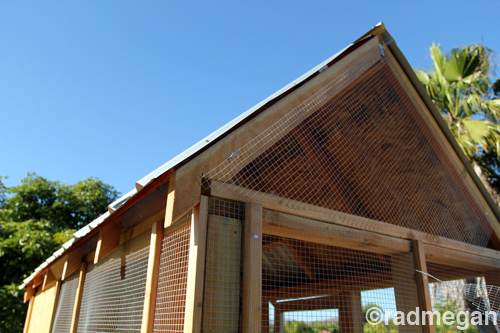
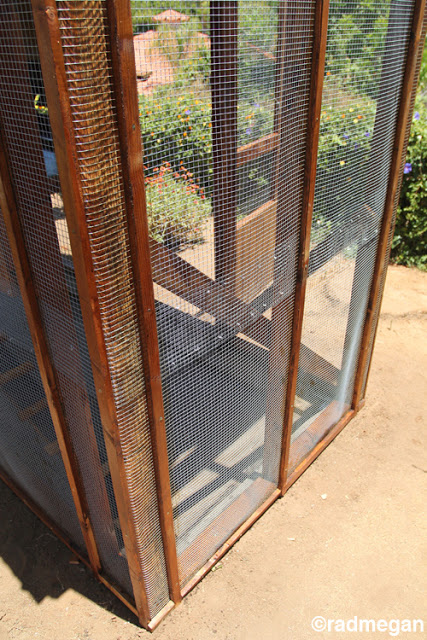
Then I went around and made sure that every tiny hole or exposed area was covered in hardware cloth. No predators allowed!
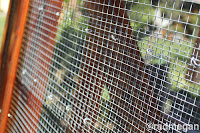
View of the hardware cloth I nailed down between the beams
And since we had to double up our panels of hardware cloth to cover the tallest walls of the coop, my mom and I went around with needle nose pliers and a spool of wire, and secured the gap between the two pieces by twisting the wire around both layers of hardware cloth, and twisting the wire into tight knots.
It really started to feel like we were in the home stretch at this point. My dad had found an old piece of linoleum and we cut it to fit the surface of the “apartment” floor. My mom painted on a flooring adhesive to hold the linoleum in place, and then we tacked down the perimeter with nails.
The door was on, the interior apartment was built, staining was done, the nesting boxes were done, the hardware cloth was all on and reinforced, it was really starting to move along! We placed a cherry tomato inside the nesting boxes to act as our stand-in egg. Excitement was mounting.
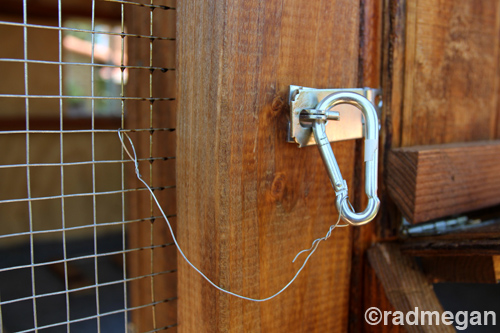
We added two round dowels from an old patio umbrella for the chickens to roost on, and nailed down extra steps to the trap door for the chickens. My husband also added a clever latch so that the door could be easily closed from the inside.
View of the interior apartment to the left… nearly done.
View of the interior apartment to the right… nearly done.
View of the apartment door closed, looking up…
View of the apartment door closed, straight on…
View of the apartment door closed, looking down at the ladder and floor…
We added a lock for the main door of the coop, and a tiny latch on the inside of the main door.
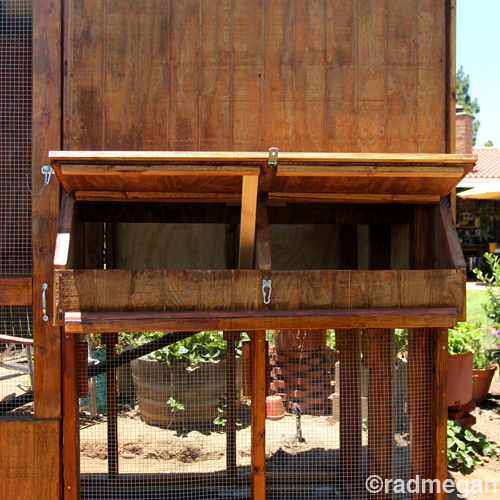
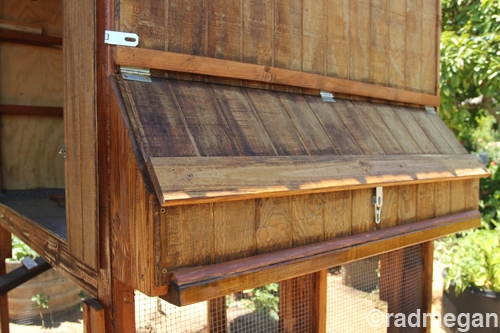
We also added a lock to the nesting boxes.
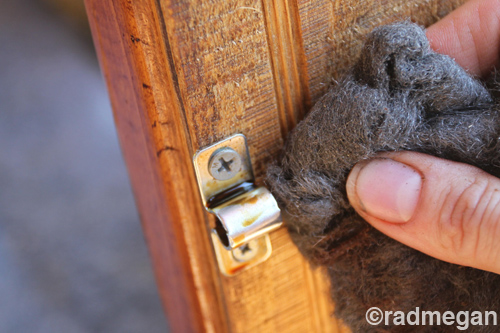
I cleaned up all of the metal hinges and locks that we’d dripped stain on with a piece of steel wool.
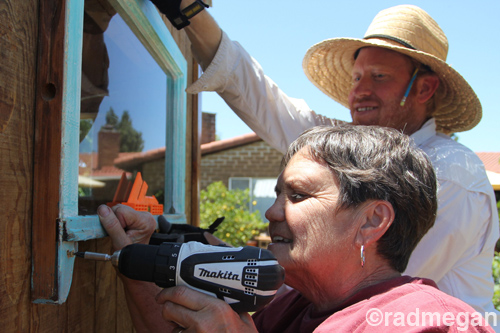
The VERY last step was screwing that old-timey window in. Go Mom!
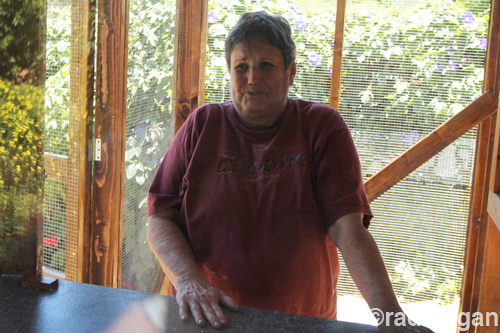
View of my super cute, super excited mom through said window! Ready for the FINAL CHICKEN COOP TOUR?
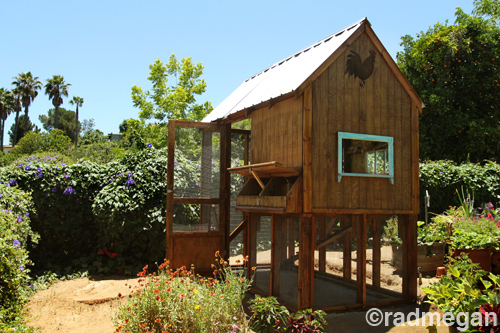
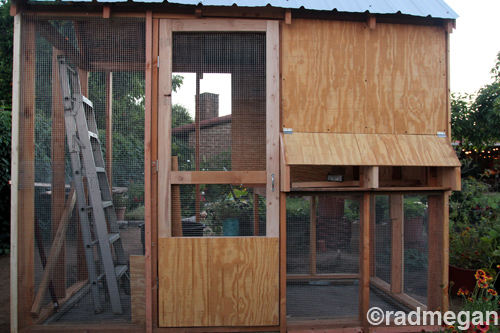
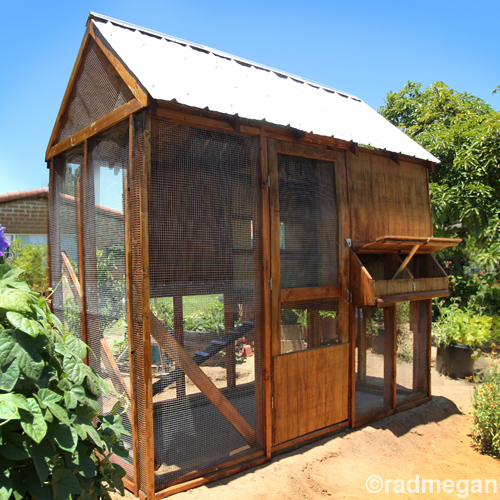
Finished coop! Side View!!
Finished coop! Back View!!
Finished coop! Other Back View!!
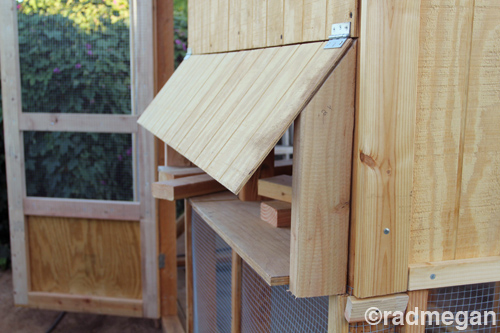
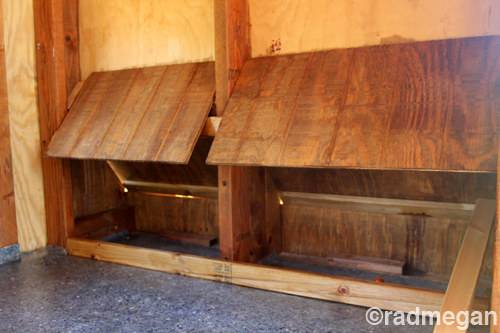
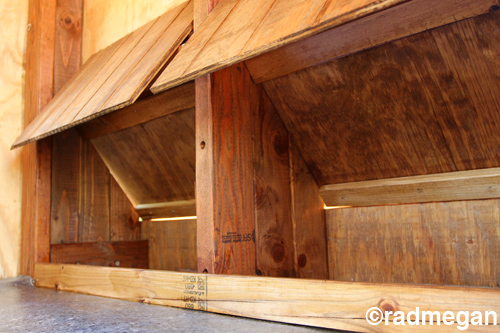
Finished nesting boxes!
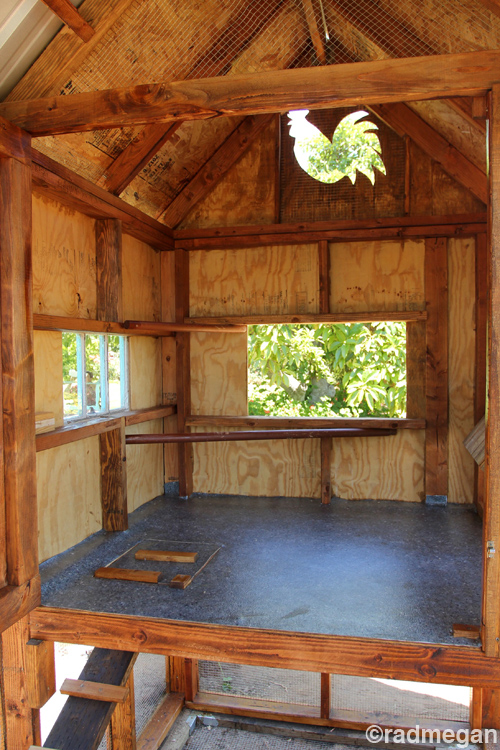
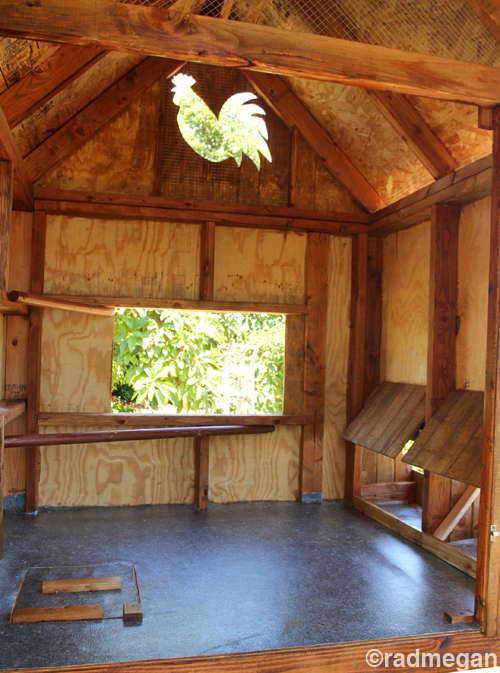
Finished coop! Interior!!
Finished coop! Trap door!!
Finished coop! Inside view of nesting boxes!!
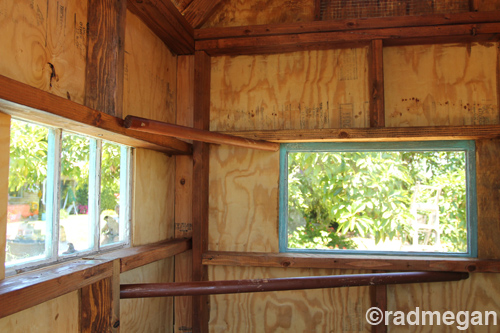
Finished coop! Roosting Posts and Windows!!
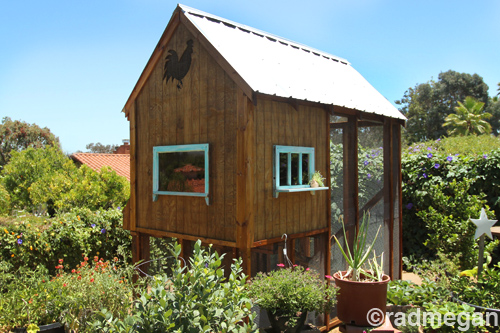
Finished coop! Front view!!
Finished coop! Wait- no- those are my hands, my mom’s hands and my husband’s hands… battered from the labor!
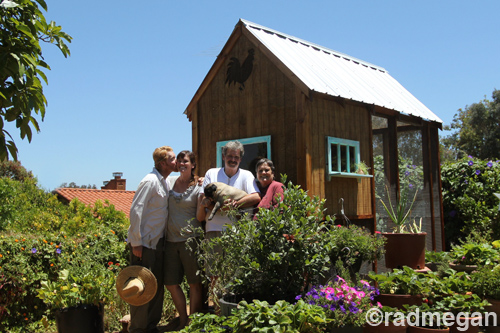
Finished coop! Happy Family!!
We were sooooo happy with the way it turned out. If my mom had said she’d wanted a chicken coop this elaborate, we would not have agreed. Her only request was, “If you are making me a coop, make it cute.” but it was such a fun project to work on, that we just kept building more and more and more little touches that would make it perfect for her. Big thank you to my husband, who was the brains behind this operation. I love you sweets. And Happy belated mother’s day mom, you are the best mom ever and I’m so happy we could do this for you. xoxo











This is AWESOME. I want a chicken coop.
You win the daughter of the year award.
Thanks so much! I think my sister might win that award- she’s the one providing the most important part- the chickens
xoxo
radmegan
This is amazing work, Megan! Can hardly wait to see pictures of the inhabitants as they settle in!
All the best,
Astrid
Thank you Astrid!! I’m so excited to meet her chickies too! <3<3<3
dude. DUDE. let ME live in this. i will wear a chicken costume and pretend to lay trader joe eggs on the daily. og settlers would be proud. amazed. xo
Giiiirl! Sounds good to me! My mom and I were joking that it’ll be a shame when real birds mess up the coop. What we NEED is a Rhea. <3!!!
Miss you girl! Hope to see you soon xoxo
Now I know why I haven’t seen your Mom lately at the knitting shop…
They’re gonna love their chickens and the eggs! I miss our “girlie-girls”. We started with 3 and went up to as many as 24! Need some egg recipes?
Nice job! Good work! Cute, she got, indeed.
Tootles,
Anni
Anni! Maybe you need to come up with a knitted chicken class to lure her back? 😉
Thank you for the sweet words.
xoxo
OH MY GOSH. It turned out SO amazing! Congratulations love, you should be SO PROUD of that baby! I’ll bet your mom is on cloud 9. And that photo of you and your hubby is just too cute
Love ya
Janee