• Home
  • About Megan
    • Student Gallery
  • Writing
  • Video Training
  • Knitting Fork Projects
  • Categories
    • Baby Crafts
    • Baking
    • Book Review
    • Camping
    • Cooking
    • Crafts
    • Etsy
    • Gardening
    • Guest Blogger
    • Holiday
    • Kid Crafts
    • Knitting Fork
    • Needle Felting
    • News
    • Photography
    • Recipe
    • Sewing
    • Teaching
    • Travel
  • Sponsorship Info
  • Contact
  • March 29, 2023
Gardening Recipes
 
Craft Projects Photography

Easy-to-Make Friendship Bracelets

August 30, 2012 By radmegan 4 Comments

Lately I’ve been meeting up with long, lost friends with little to no advanced notice. I’m a person who likes to give gifts to my loved ones and I prefer that those little gifts are handmade. But with my crazy schedule, it’s become harder and harder to make something in a short amount of time, that I’d actually want to give away.
 
Since I usually travel with a knitting fork in my purse and recently visited an ADORABLE yarn & fabric store (while meeting a friend who gave ME a handmade gift) I knew it was time to make better use of ANY downtime I had… which at most, is about 10 minutes in a day. So while I inhaled ate my lunch yesterday, I took the two new balls of yarn I’d picked up at Brooklyn General and sat down to crank out some friendship bracelets. Are these the bracelets we all learned to make in grade school? No. These are way easier! And if you can get a couple colors of lovely yarn (on sale) they are a fantastic gift to give in a pinch. I dare say you could make them while walking to your impromptu coffee date!

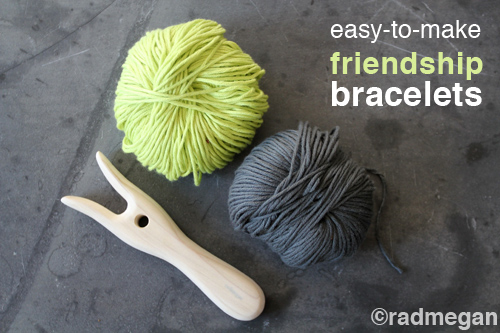
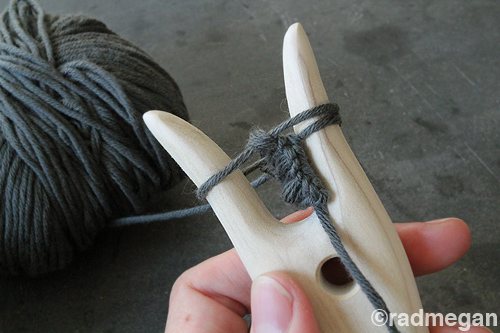
For those of you familiar with my radmegan knitting fork video on youtube, you will recognize this as the second method I teach in that clip.

If you haven’t watched it, it’s MUCH easier for you to take a few moments, check out the second technique I demo in that video, and then meet me back here.

Back already? Hi! 

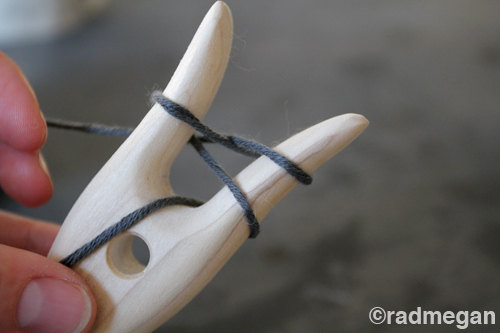
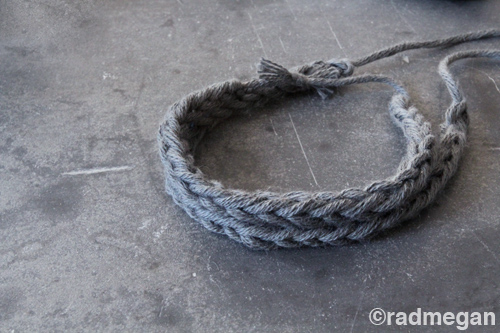
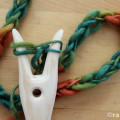
My favorite part of that process is knitting a few stitches of the yarn on the fork and leaving it all bunched up.

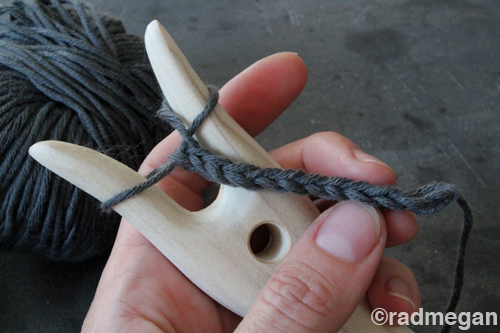
Then, after about 12-15 stitches, I take the tail end of the yarn and pull.

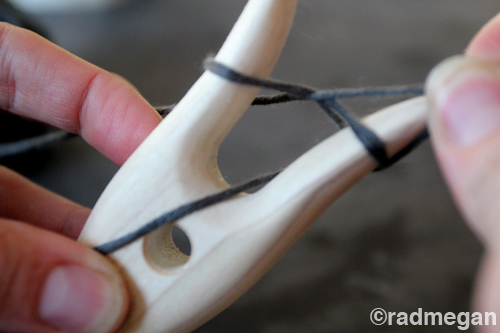
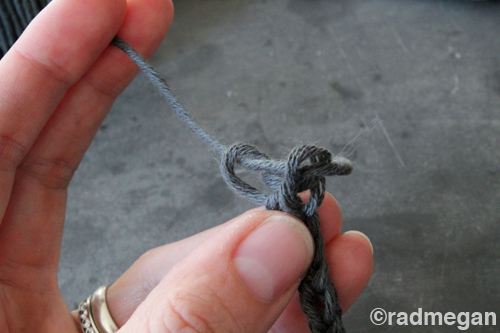
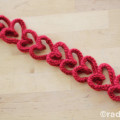
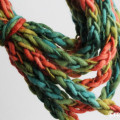
Seeing the chain unfold is one of those small things in life that just makes me really happy. Like like trampolines and baby hedgehogs; it doesn’t take that much.

 
As soon as I’ve got a strand long enough to fit around a wrist (between 6 and 8 inches depending on the size of your friend), I snip the yarn.
 
I carefully slip the two loops off the tines of the knitting fork….

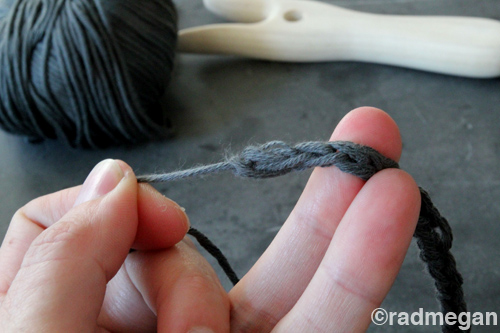
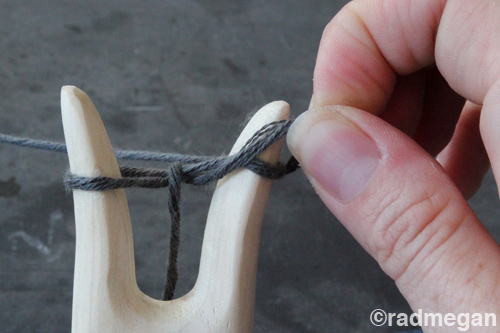
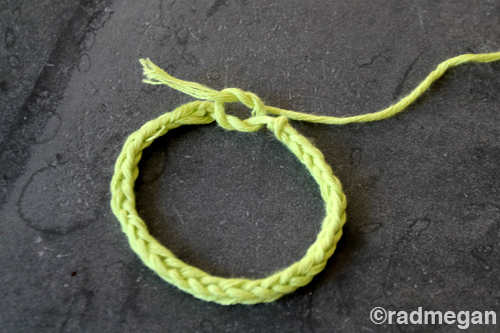
…and weave the yarn end through the loops. When you pull the yarn end tight, it won’t unravel.

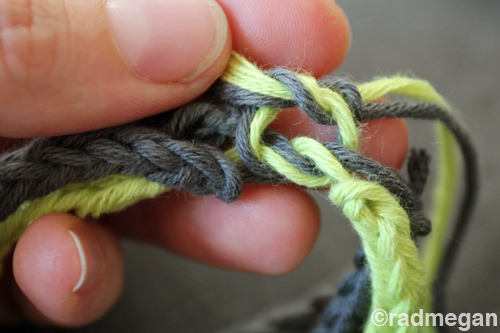
Depending on how many bracelets you want to make for your friends, you can either tie a square knot with each end of your knitted strand, or stack a few bracelets and knot them together all at once.

 
Tying the yarn ends of your bracelets together might seem risky, but as long as you are generally close to your friends’ wrist size, your yarn should have enough give in it to slip on and off of their wrist. 
 
For this project, I paired a charcoal gray color with an almost neon chartreuse. I was pleased and surprised how well they went together and look forward to experimenting with more color and yarn weight combos.
Each bracelet literally took me just a few minutes. I’m going to start making piles of these during phone calls, commercial breaks and while in line at the post office.


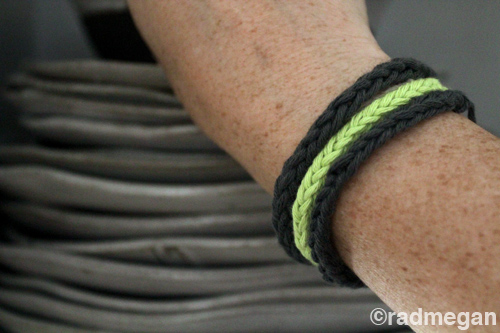
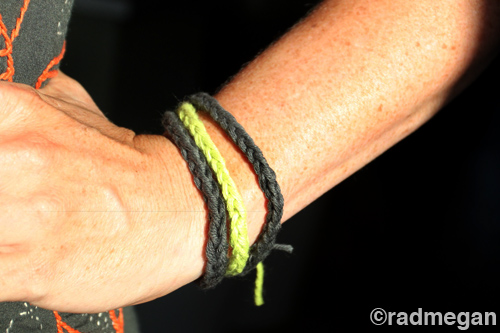
The bottom line is, it’ll be a long time before I let myself run into a friend empty handed!


FacebookTwitterGoogle+PinterestShare

Related posts:

Knitting Forks Aplenty: Rad-Made Lucets! Easy Knit(ting Fork) Flowers Knitting Fork Project: Easy Knitted Hearts Stuffed Stocking Christmas Give-Away! Using Your Knitting Forks: A How-To Video Knitting fork made scarf / necklaceViking Crafts: A Lucetted Necklace/Scarf

Filed Under: Knitting Fork Tagged With: bracelets, gifts, knitting, Knitting Fork, lucet, quick crafts, radmegan


Warning: count(): Parameter must be an array or an object that implements Countable in /webroot/r/a/radme001/primary/www/wp-includes/class-wp-comment-query.php on line 399

Comments

  1. Ladies Holiday says

    August 30, 2012 at 10:15 am

    That is such a neat tool! My kids and I made them all summer- with colored floss- so fun!

    If you’d like, please join our Photo Friday blog-link-up tomorrow. Any of your favorite photos are welcome- even if they’re in a post.

    Cheers!

    Reply
  2. truman testa says

    September 4, 2012 at 11:18 pm

    You have added great hand made tutorial, i have seen all the pictures you have added in this post and the video tutorial also, this is really quite easy and affordable hand craft, i have enjoyed this tutorial and your post, and the craft is really looking good, i want to try it shortly, thanks for sharing this great idea.

    wall art and decor

    Reply
  3. Myllya says

    September 10, 2012 at 12:04 am

    I highly appreciate bloggers who come up with detailed tutorial about how to do some unique and absolutely adorable bracelets. It is a long time since i want to teach my self to do such items, but till now i just procrasting it. Now, i’m ready to do it, and all this thanks to you!
    myroona@jewelry for sale

    Reply
  4. Fashion_Belt2012 says

    October 1, 2012 at 5:19 pm

    In the complete honesty, present are an boundless total of separate habits that you be capable of go not far off from responsibility so. A not many of individuals habits are for a split second touched on lower than.

    Belts Belt Buckles Wrist Bands

    Reply

Leave a Reply Cancel reply

Your email address will not be published. Required fields are marked *

CommentLuv badgeShow more posts

Follow Me

  • 
  • 
  • 
  • 
  • 
  • 

Find posts on this blog about…

Instagram

Get posts via email

Welcome!

I'm a crafter, cooker, gardener, and photographer.
Read More...
Learn Craft Photography with Radmegan

Friends

back to top
© Megan Andersen Read. All rights reserved.
Interested in using my photographs? Contact me.
Web design by Hearts and Laserbeams