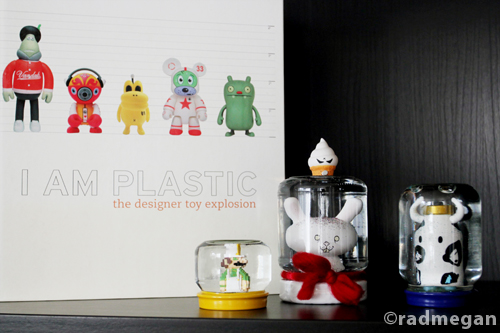
Confession: I’m a bit of a “collector.” Fabric, cooking spices and plants all seem like practical items to collect. The tiny, vinyl toys from places like Kid Robot and My Plastic Heart etc. may appear to be slightly less practical… at least to my husband. To me, the toys are ways of purchasing little pieces of art from contemporary artists and designers. So when I got to thinking about making snow globes this year, it dawned on me that I would MUCH rather look at a glittery globe containing a plastic toy I LOVE, as opposed to some cheap little throw-away toy.
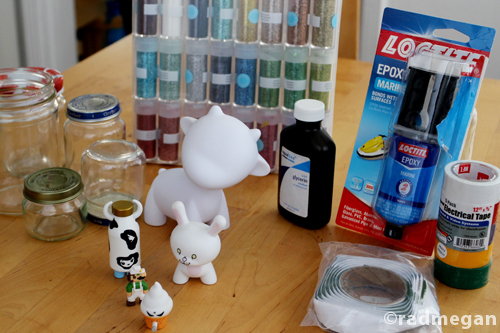
If you too are a collector of similar vinyl toys and are interested in making your own snow globes, you will need:
Assorted Glitters (You can also use white egg-shell bits for larger “snow”)
Marine-Grade Epoxy (At Hardware Stores)
Clean, Empty Jars (Labels & Glue Removed)
Glycerin (At Drug Stores)
Distilled Water (At Drug Stores)
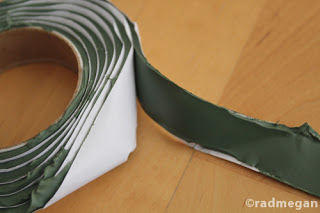
Floral Clay (I bought mine on Amazon)
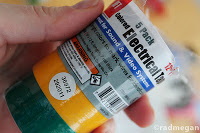
Assorted Finishing Tapes (I used Electrical- you can use Washi or Duct as well)
Yarn or Ribbon if Desired
A Dinner Plate
A Paper Plate
Toothpicks
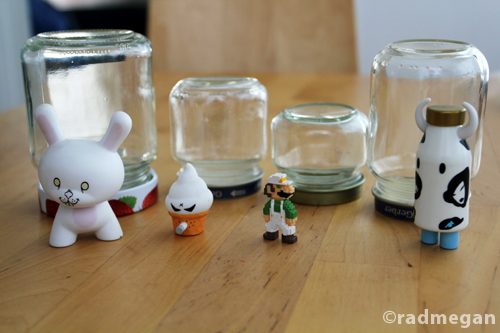
First, pick out jars that will fit your toys. I had a few toys I had intended on using, but ended up only selecting four due to the shapes and sizes of my jars.
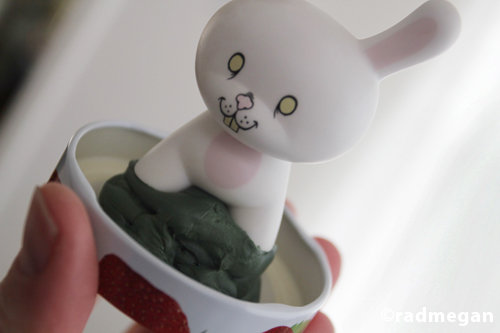
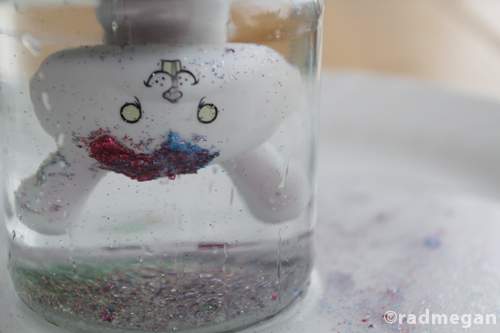
When you place your toy into the jar, you may notice that it’s a bit shorter than you would like. I used some floral clay to build up the base of my snow globe and make my toy taller.
While the tape may be slightly visible in the base of the globe, it bothered me less than having a snow globe that I couldn’t fully see into. The floral clay is pliable, sticky and water-proof, so it shouldn’t end up changing the color of your water, or falling apart within the jar.
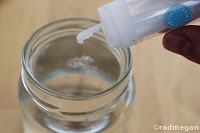
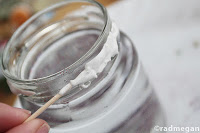
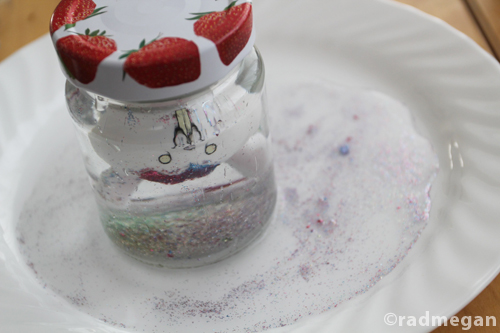
Next, I grabbed a dinner plate, set my jar on it, and filled the jar to the very top with distilled water, adding a couple of drops of glycerin to make the glitter move a bit more slowly. I shook in about a teaspoon of glitter in a variety of colors. I then opened my marine grade epoxy, pushed the goo from both tubes out onto a paper plate and mixed it with a toothpick. I smeared the mixed epoxy around the lip of the jar, so that when I screwed on the lid, it would stay sealed.
I carefully placed my toy (adhered to the jar lid) into the glitter-water of the jar. The displaced water dripped out onto the plate, but working slowly, I was able to keep as much water in the jar as possible- which ultimately produces fewer air bubbles in the snow globe.
I screwed the lid on tightly and let the epoxy set.
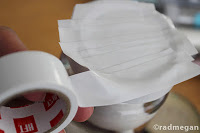
Next, I took my electrical tape and placed strips of the tape across the top of the lid and around the side to give it a more polished look and cover any labels or markings.
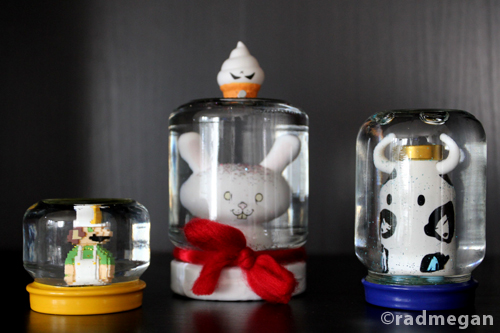
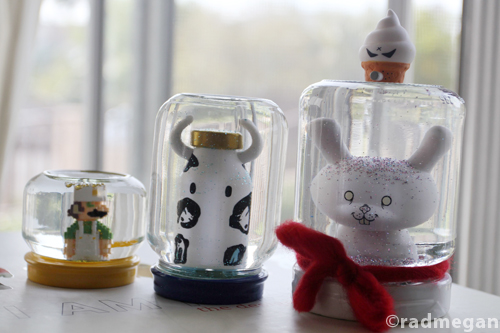
When the globes were done, I sat back and admired them. Sassy little snow globes, I love you!
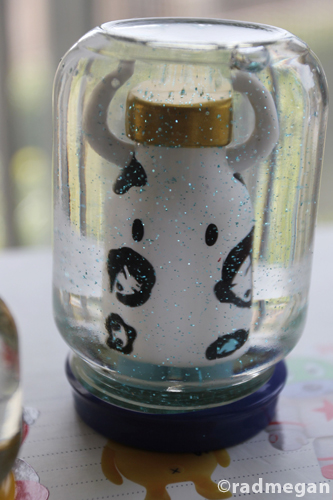
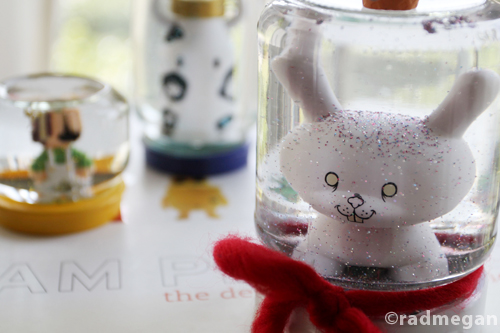
My finished globes contain toys from Tokidoki…
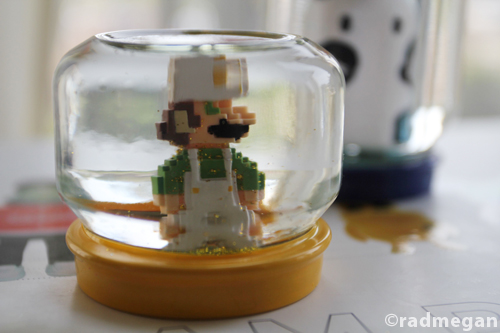
And a Super Mario Brothers magnet…
As far as my husband is concerned, these snow globes take up just as much space as the vinyl toys did, but I think they are a cute, urban way to celebrate the holidays!
I love the idea of making your own snow globes and while some collectors may be gasping in horror that I’ve “ruined” my toys by putting them into water, I’m happy with my arty little snow globes. And I probably have duplicates of the toys I used in their boxes anyway!



I love these and they would make great stocking stuffers. Thanks so much for the inspiration.
Thanks so much for your sweet words waiting4themoon! I appreciate the comment!!
xoxo
radmegan
Love it, pinned it!! xx
So cute! Great present idea.
wow! very nice idea, you are gifted, thanks for sharing it
Hi Megan, I have a question – was the floral clay the only thing used to anchor the toy to the lid of the jar? Thank you!