
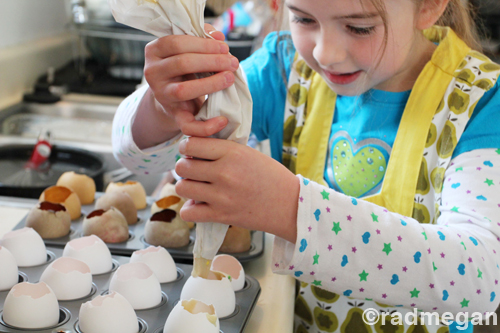
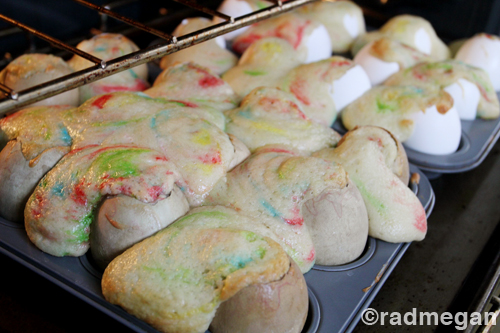
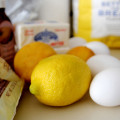
Since our day was jam-packed with activities, we used a boxed cake mix. (I know, I know, from scratch is so much better… but boxed cake (confetti cake at that!) was what we piped into each egg.
 |
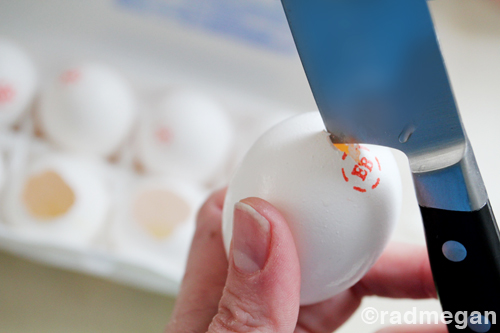
| The night before I had attempted to dye the eggs on the right in beet juice… unsuccessfully. Let’s pretend they are dinosaur eggs, ok? |
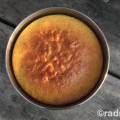
We filled each egg with cake batter but left about a quarter of an inch from the top of each egg. We didn’t want to fill them too full, fearing that they might overflow. We baked them for about 25 minutes at 350 F.
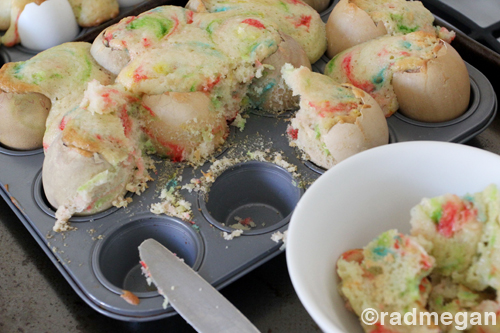
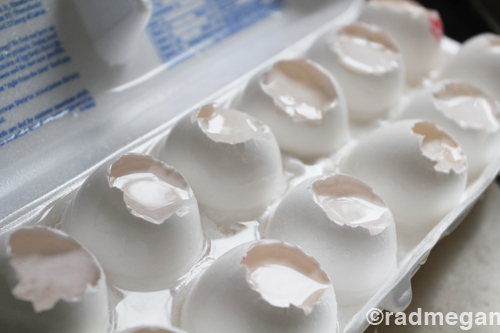
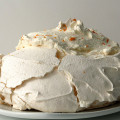
After cutting away as much of the extra cake from the shells as possible, the eggs were still pretty hideous. I used a wet wash cloth to remove the rest of the cake from the outside of the shells. This step is labor intensive- but important if you want to give your cake eggs to ANYONE! They really do get better looking… if you work to clean them up.

And if a few break during the clean-up process, I’m sure you can find someone to help you hide the evidence.
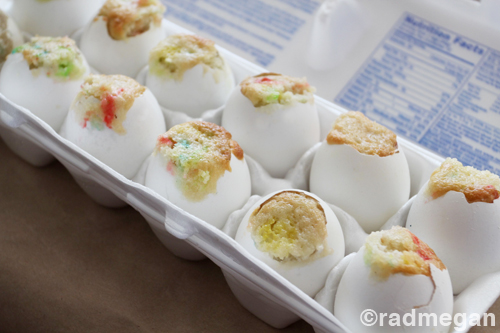
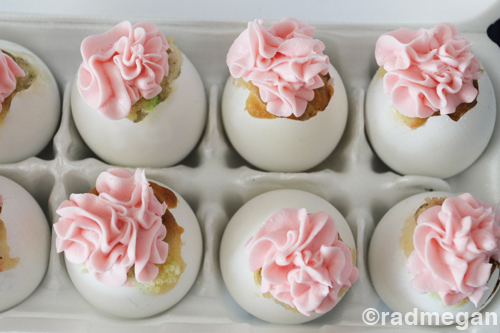
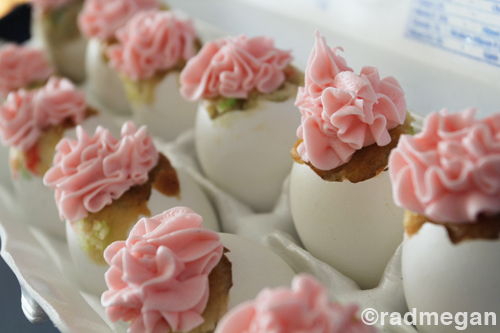
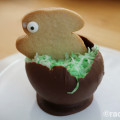
Once cleaned up and relatively free of excess batter, a little frosting sure helps cover the multitude of sins you may still see.

And then of course, there are sprinkles…

These eggs are certainly more fun to eat (peel the shell like you would a hard-boiled egg and ENJOY!) but for the amount of clean-up, I think I will only bring these out for special springtime events like Easter or special birthdays!
What do you think? Would you try these?


Whered my comment go? I’ve been wanting to try these too but I’m glad you did it first! I’ll won’t fill them as much and let you know how they turn out!
– Jennifer S
I want to try these for Easter! I’m thinking I won’t leave them in the shells for presentation though. A quick dip in chocolate then decorate the hardened chocolate shell – that’s where my brain is going anyway. We’ll see about actual follow-through!
Excellent idea.
So. Stinkin. Cute. But sounds really labor-intensive. I’m working on just gettin my buns into the kitchen more often – let alone having my food be cute. Great pics and tips though! Looks like you gals had a blast!
Thanks you guys!
Shaina- I LOVE your idea! Dooooooo itttttt!!!!!
Cassandra- It does help knowing that there is tasty, tasty cake inside each shell! Makes the work worth it… for special occasions anyway! We did have a blast!
Thanks for the comments!
xoxo
These so look fun, I think we can try these when we dye eggs this year. Fun idea. TFS!!
Aw these are so cute! What a great idea! Love this !
XO. Britt
The Magnolia Pair
& loved your guest post on Janee’s blog! Glad I found you on there!
Thank you Helen!!
And thank you Britt! I’m happy you are here!
xoxo
radmegan
Would you try these? – of course!
Yay! That’s music to my ears
I love the idea but I’m not sure I would take the time to make them. I certainly would eat them. lol Hope you’ll visit and follow me…have a great day. xoso Sandy
Haha! You sound just like my niece! It IS always helpful to have extra taste-testers around
I think I will do this but color the eggshells in some food coloring. And the dipping the cakes in chocolate is a good alternative for the ones whose eggshell just don’t make it.
And add some bling to the shells like the jewels on your sunglasses. See, now you got me started. I am now going to be obsessed with ideas.
This are so creative and beautiful! Just added them to my list of ‘Most Creative Easter Treats’ – thanks for sharing
http://www.skinnyscoop.com/list/citychic/the-most-creative-easter-treats
WAOWWW …!! ÇOK ÇILGINCA … ((:
Looks wonderful, thanks for sharinge these pics and the recipe so i could find your blog on pinterest!
Hi Megan,
We left another comment on Contact Us but thought I’d also message on here. We would love to feature this recipe for our Dinovember blog! Do get in touch with us if you’re interested eunice.cruz@twinkl.com